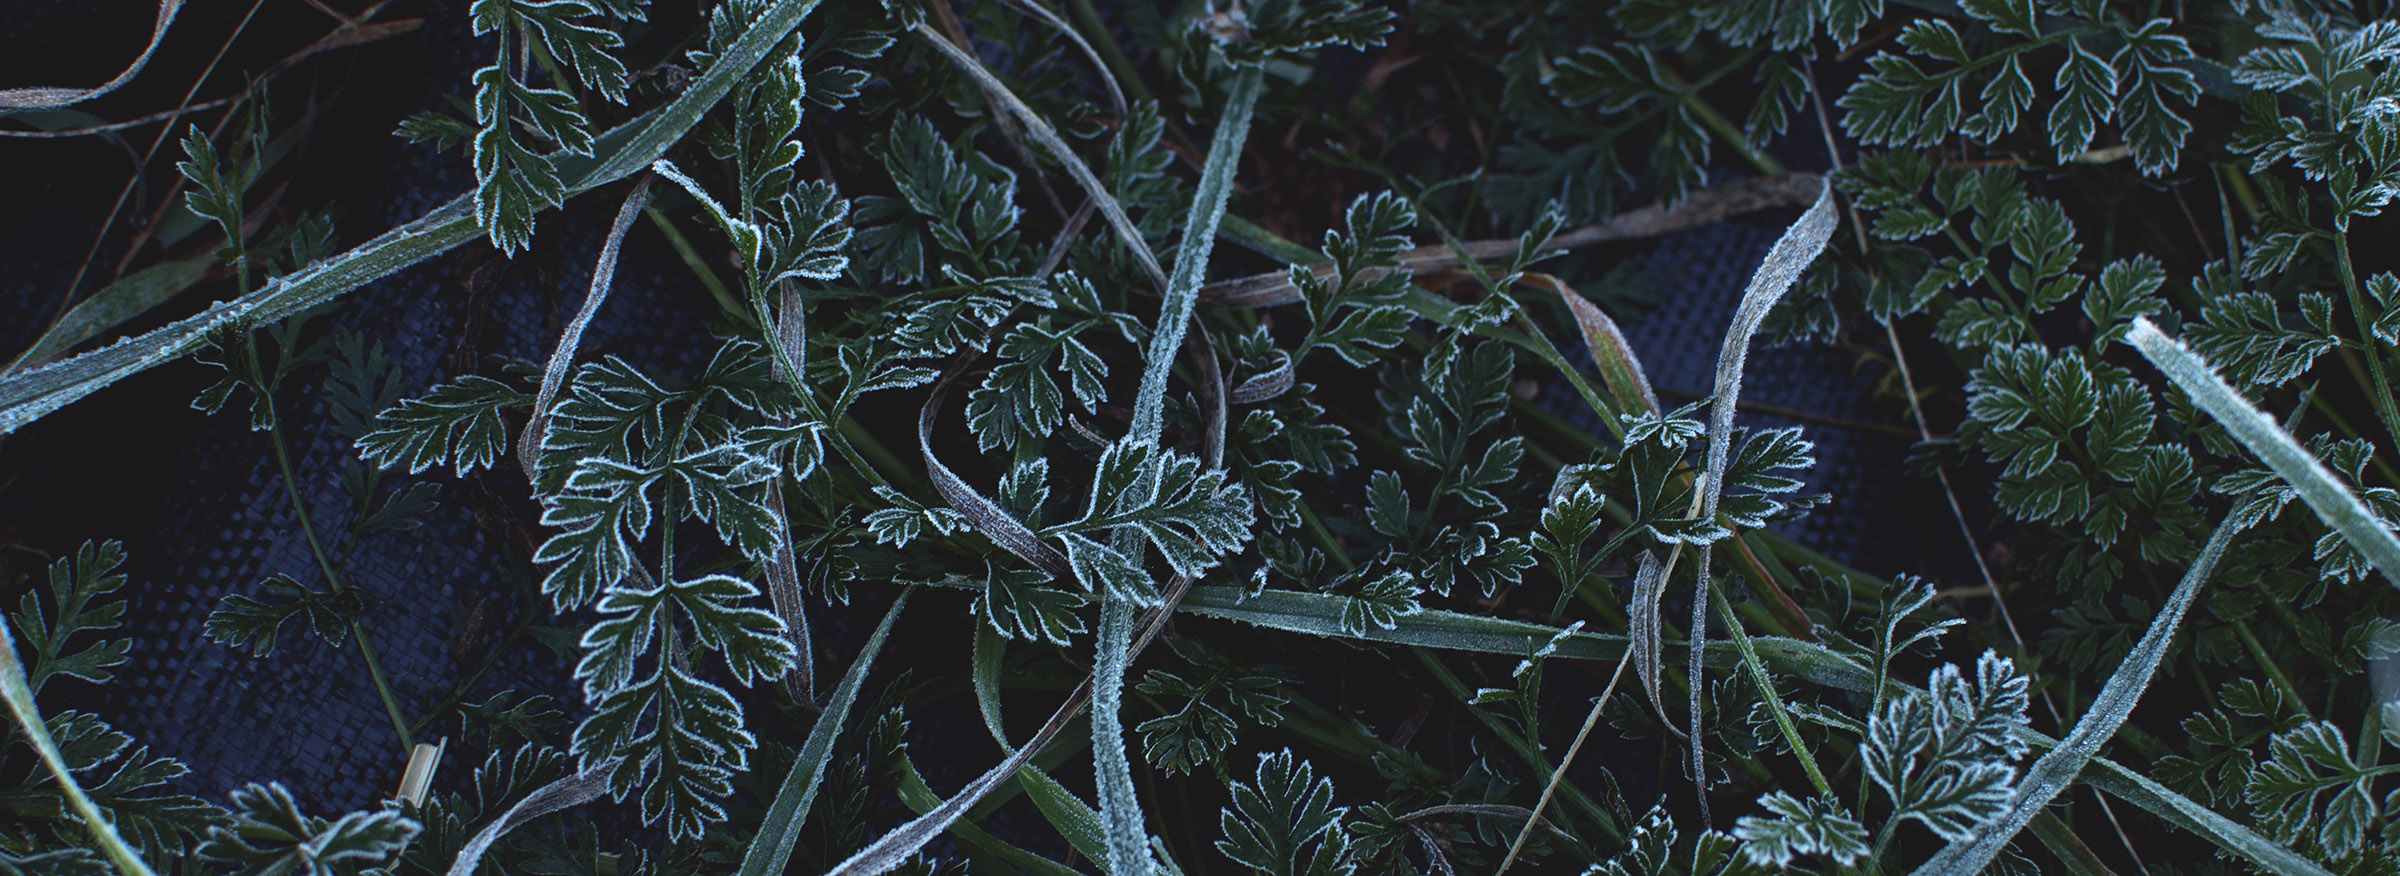
The rarest of gems is a beautiful bloom in the middle of winter.
Growing flowers in the winter requires lots of supplemental heat and light, typically in a heated greenhouse, so winter blooms carry higher costs for both us and the environment. I like to appreciate these flowers for what they are: a decadent treat!
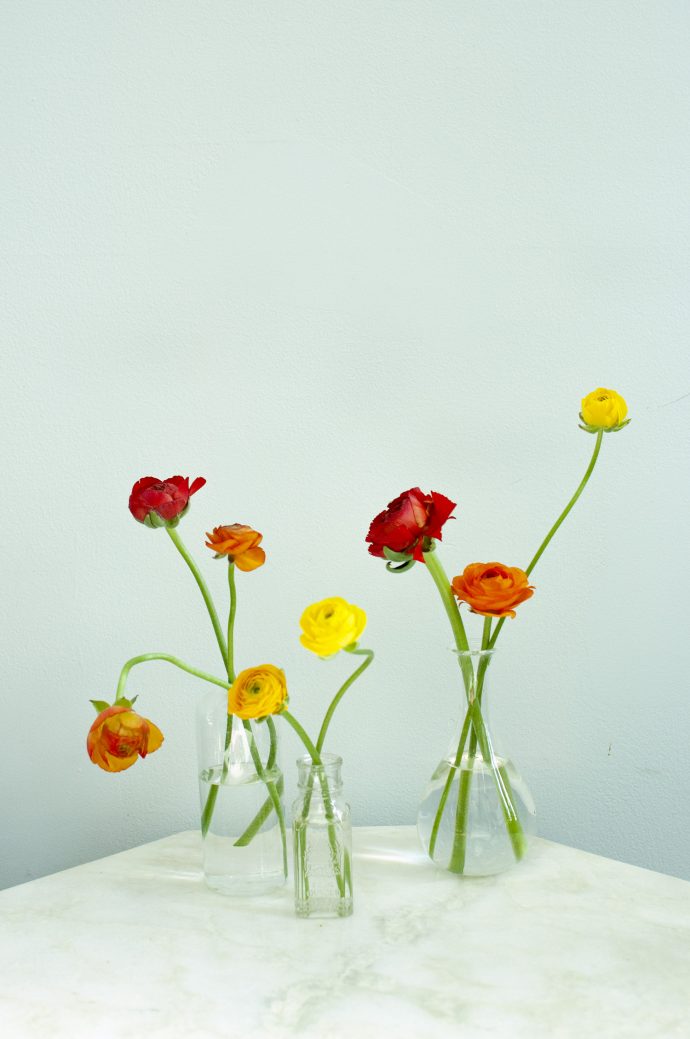
I’m going to show you how to create an arrangement with bud vases that uses a small number of stems, but has a big impact. This sort of arrangement highlights the vibrancy of these precious, gem-like, greenhouse-grown Winter blooms.
Step 1: Source Your Blooms
We’re all about those local blooms! Rather than buying flowers at Trader Joe’s, Shop Rite, or a gas station–which are all likely flowers imported from Ecuador or another far-flung country–try a local supplier first.
In the Rhinebeck area, Battenfeld’s is an amazing family-run greenhouse that grows anemones and ranunculus through the winter. They’ve got a self-serve cooler that’s open ever day, it’s amazing.
In Westchester, try growers like the FLOWERHOUSE 10547, or ask your local florist if they have any locally-grown product. You can also order American-grown flowers shipped to your door through Farmgirl Flowers and Grace Rose Farm.
Wherever you source your winter flowers, know that you will likely pay a premium for them! And that’s to be expected: growing flowers in the winter comes with a lot of lighting and heating costs for the grower.
Luckily, you only need a handful of precious stems to create this arrangement.

Step 2: Prepare Your Vases
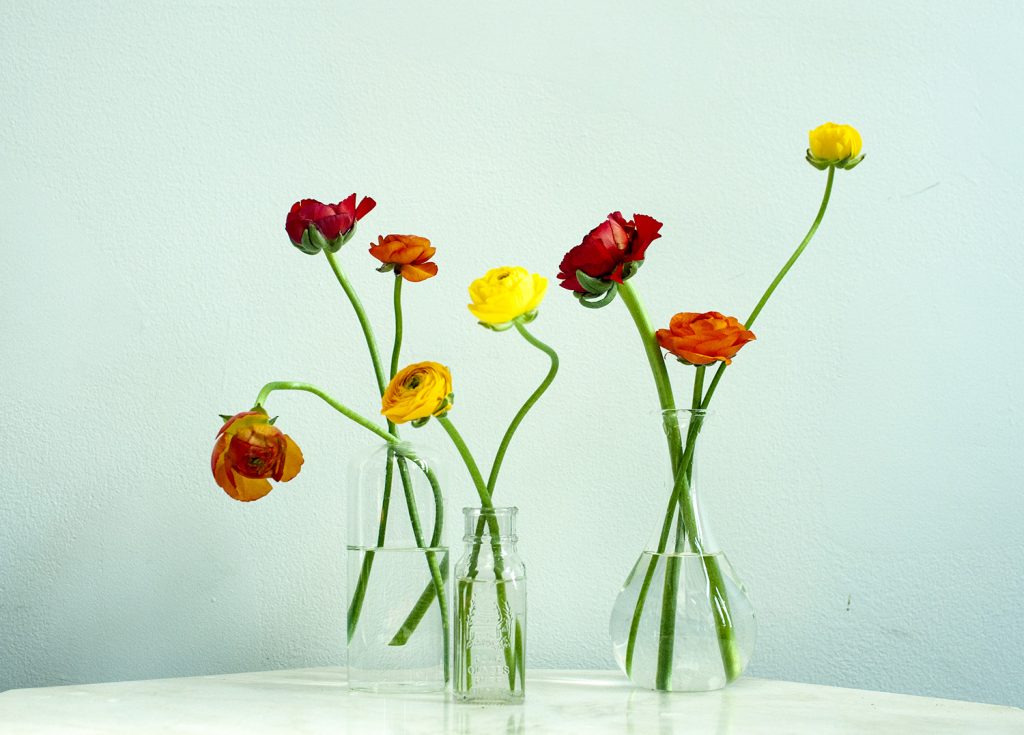
This arrangement uses a collection of small vases, called bud vases, to create a big impact with just a few flower stems.
You can find standard bud vases in craft stores and unique, vintage ones online at places like Etsy.
But, you probably already have vessels in your house that could be bud vases! Small glass jars, antique medicine bottles, empty olive oil bottles, perfume bottles: anything with a small opening can serve as a bud vase.
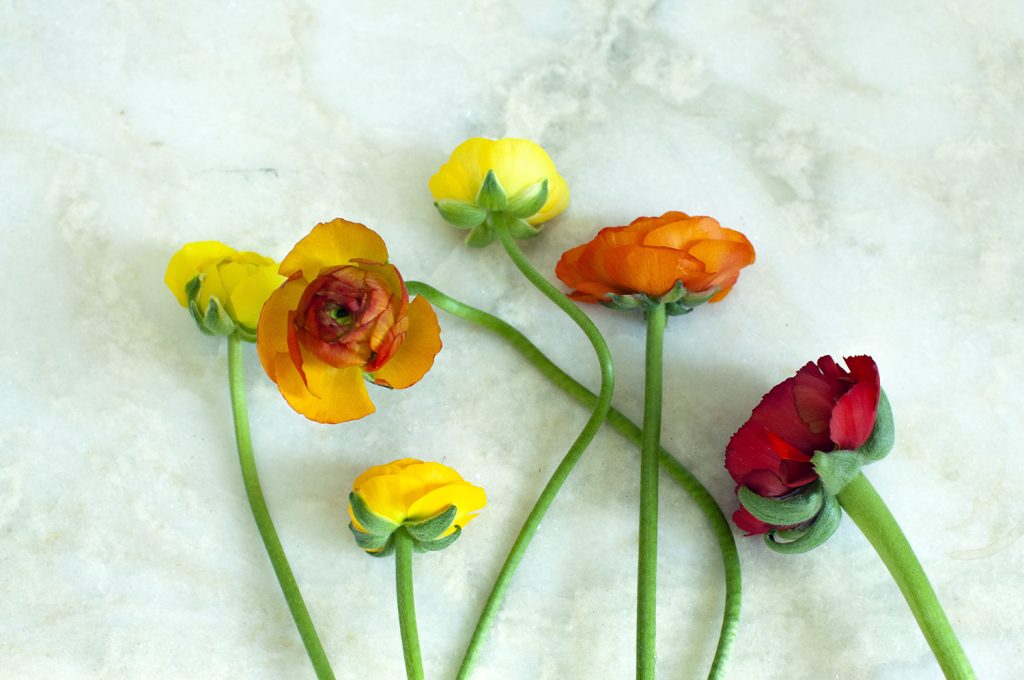
You’ll want 2-5 bud vases, depending on the number of flowers you have. I used 3 bud vases with 8 ranunculus stems.
Fill your vases about halfway with clean, cool, non-softened water.

Step 3: Prepare Your Flowers
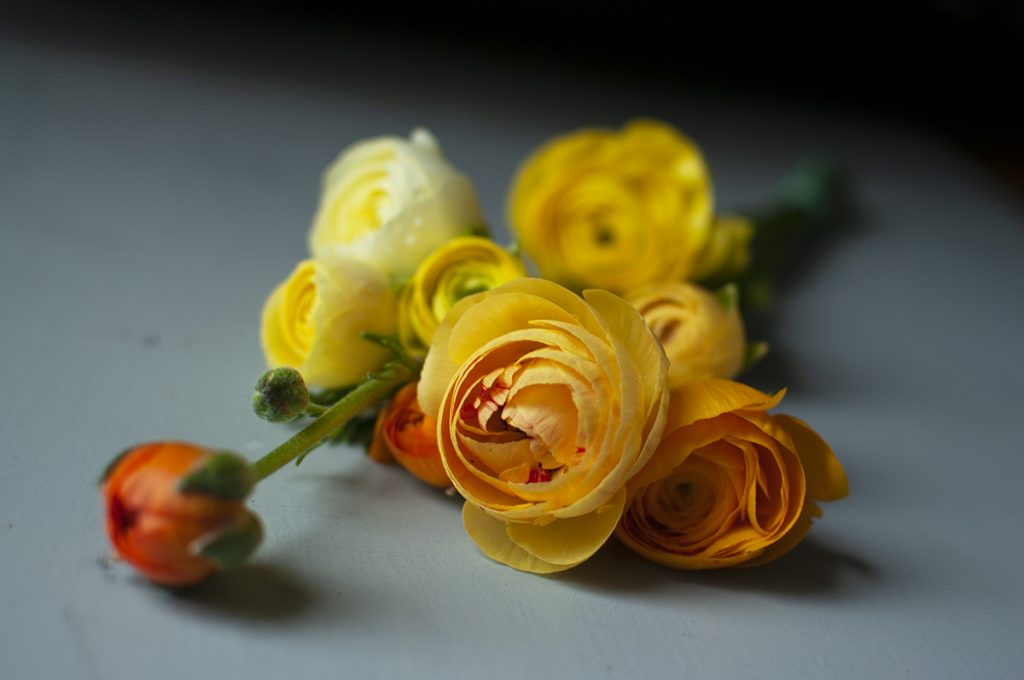
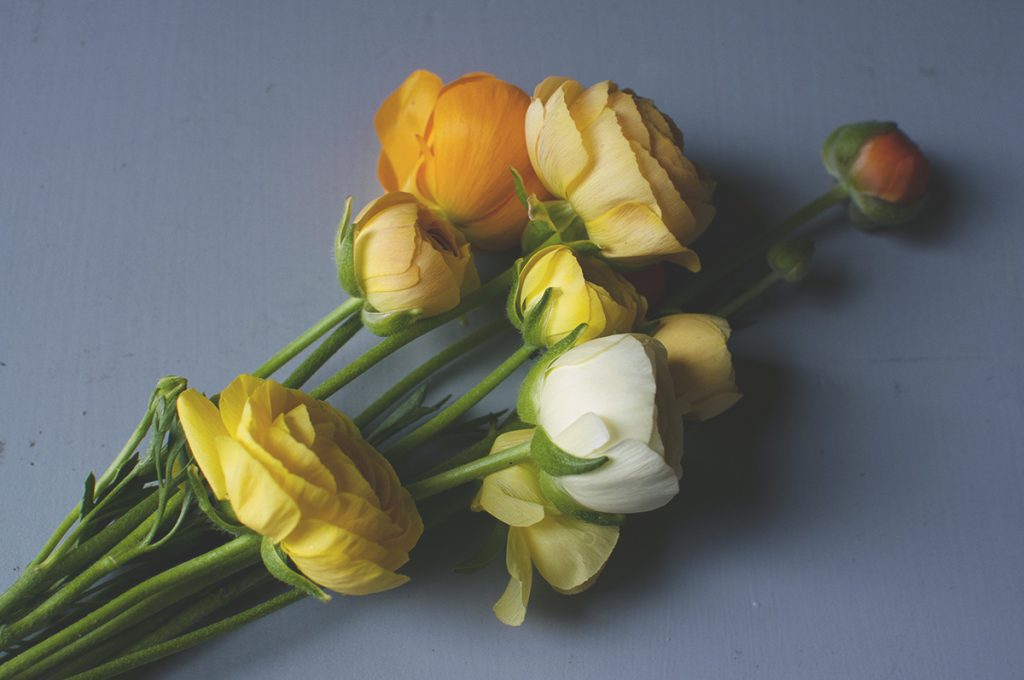
The flowers you source may be just bare stems, or they may have foliage and little side branches attached to the main stem.
For this type of arrangement, we want our stems to be pretty clean. Remove any leaves and side stems from the bottom 1/2 – 2/3 of the stem. You don’t want any leaves below the neck of the vase once you add your flowers in.
Step 4: Place Your Flowers
This is the fun part!! Place the flowers in the bud vases, one by one, to create your arrangement. You can place 1-3 flowers in each vase, depending on the vase.
There’s really no right or wrong way to do this, but here are some guidelines to help you make an arrangement that really highlights each precious winter bloom.
Keep The Stems Long-ish
No need to trim the life out of your stems! A general rule of thumb is to keep the height of your stems 1.5-2x the height of the vase.
To extend the life of your arrangement, you’ll want to come back and trim the flower stems every couple of days, too. Leaving stems a bit longer will allow you to do this.
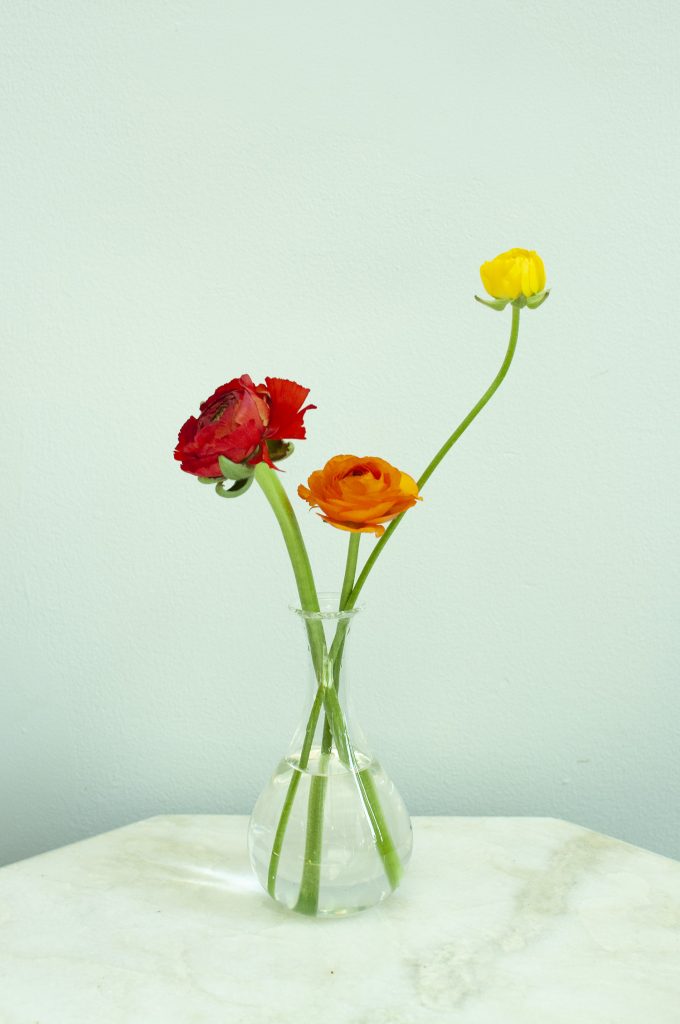
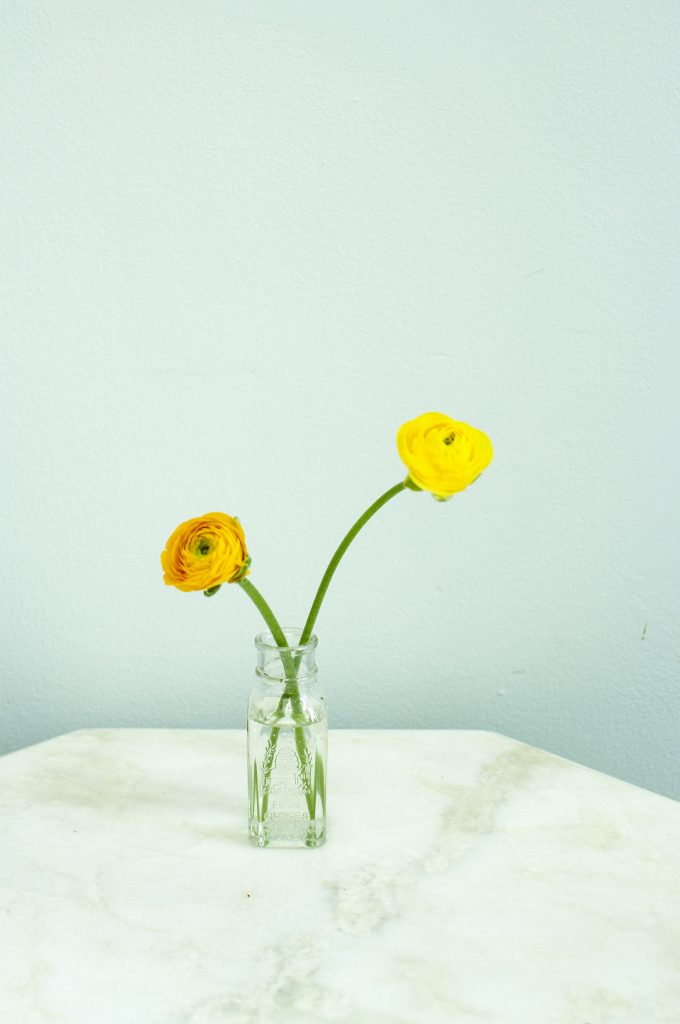
Vary Flower Heights
Make sure that all the stems you put in a given bud vase have their own little “personal space” in the arrangement. Cut the stems to different lengths, so the flowers are at different heights.
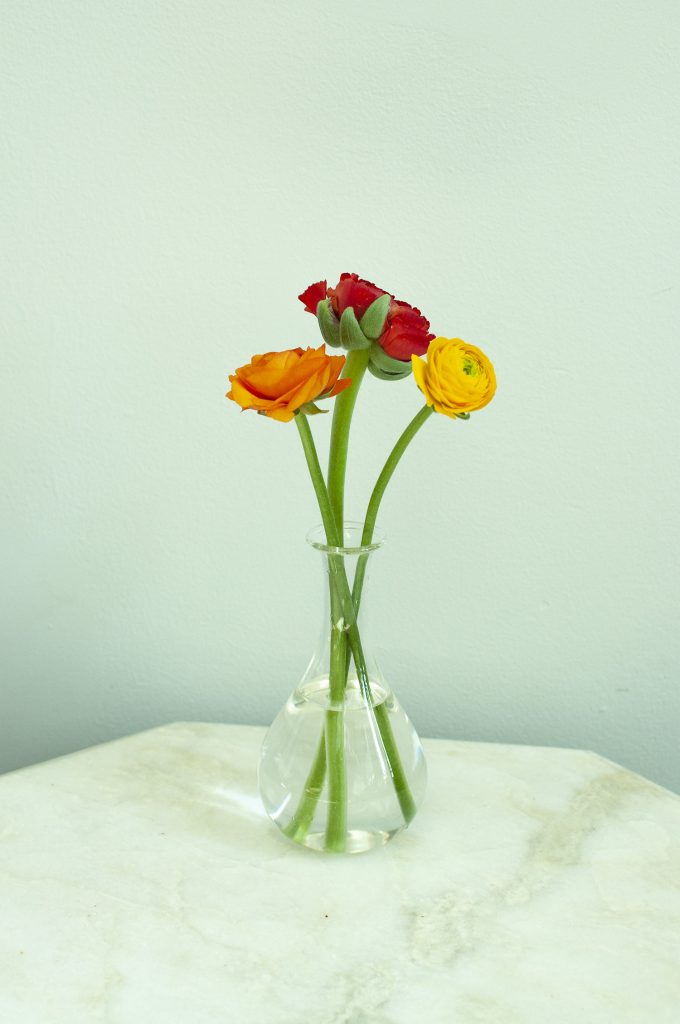
Compare this arrangement, with flowers all at pretty much the same height, with the picture above, where each flower can be seen individually. The arrangement above is much more dynamic and natural-looking.
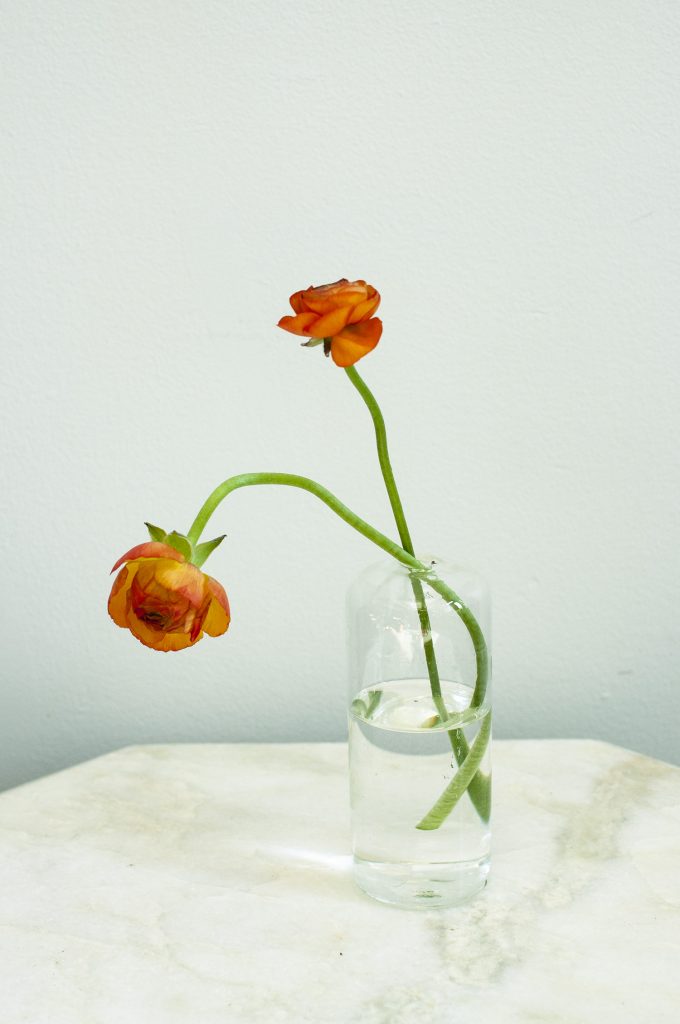
Let Your Flowers “Grow” Naturally
Some flowers have wonky stems. They might want to curve around, or lean to the side, or arc downward. Let them do their thing!
Place these special snowflakes in a way that allows them to be their weird selves. This will give your flower arrangement an organic, natural feeling.
Don’t Crowd Your Vases
With this kind of arrangement, we’re going after movement and line rather than lushness. Winter is, after all, a sparse season!
If your bud vase has interesting lines and balance with just 1 or 2 stems, no need to add more, even if they could fit in the vase.
Step 5: Put it All Together
Cluster all your little bud vases together to make a single larger arrangement.
As you do this, make sure that each bud vase still has space around it, so the individual flowers can be seen. If your bud vases have different heights, cluster a tall vase next to a short one to allow the flowers to all be at different levels.
If you’ve got a flower in a bud vase that wants to curve out to the side, place that vase on the edge of your cluster so this special stem has the space it needs.
Step 6: Enjoy Your Arrangement
Place your arrangement somewhere you’ll see it all the time: maybe on the kitchen table, or even at your WFH desk! A bud vase in the bathroom can also be a lovely treat.
To get the longest life out of your flowers, you’ll want to change the water every day or two. When you change the water, look at the bottoms of your flower stems. If they are starting to look brown, yellow, or mushy at all, it’s time to trim off the bottom 1/2″ of stem.
Enjoy your beautiful flower arrangement!


Samantha is the owner of Sea Change Farm & Flower.
Connect with me!
Sign up for our newsletter here.