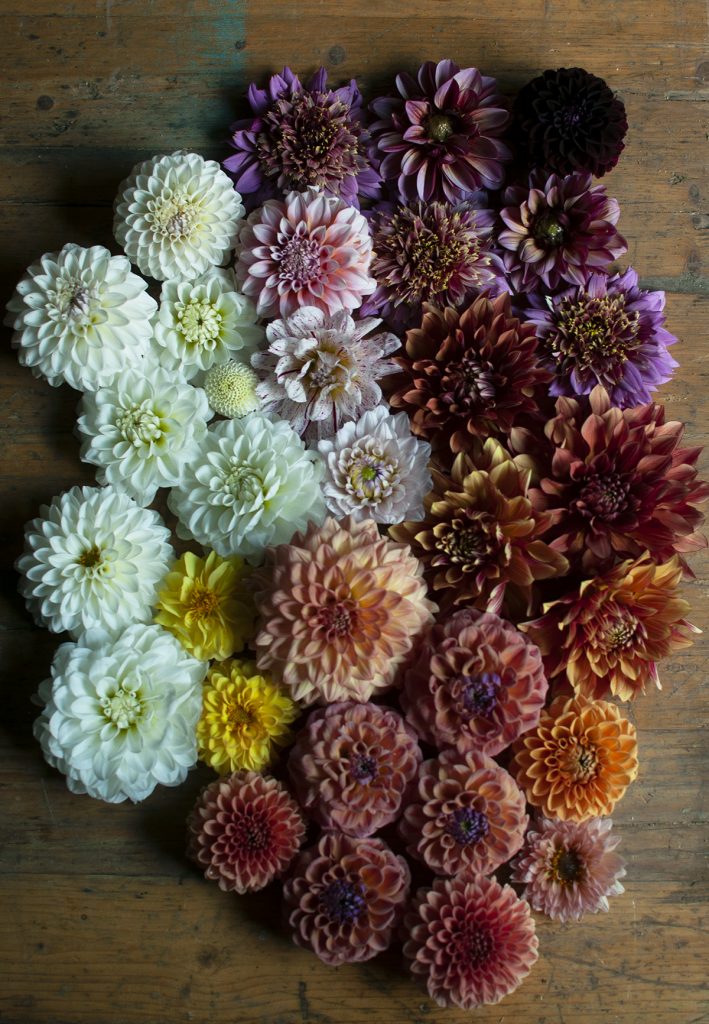
Dahlias are one of the most rewarding flowers you can grow. I think they are beginner-friendly as well!
Here’s everything you need to know to grow your own patch of beautiful dahlias.
1. Receiving Your Dahlia Tubers in the Mail
When you receive your tubers in the mail, inspect them.
All tubers should be whole, firm and plump, and with at least one growing eye at the top. If anything looks amiss, let us (or whoever you ordered the tubers from) know.
Until you are ready to plant your tubers, keep them in a cool, non-freezing place. If they come packaged in a plastic bag, open the top of the bag so the tubers can get a little air flow. Tubers can be held like this, in their (opened) packaging, for a couple of weeks.
Join our mailing list to stay in the loop about when we will offer our own farm-grown dahlia tubers.
2. Plant Your Tubers
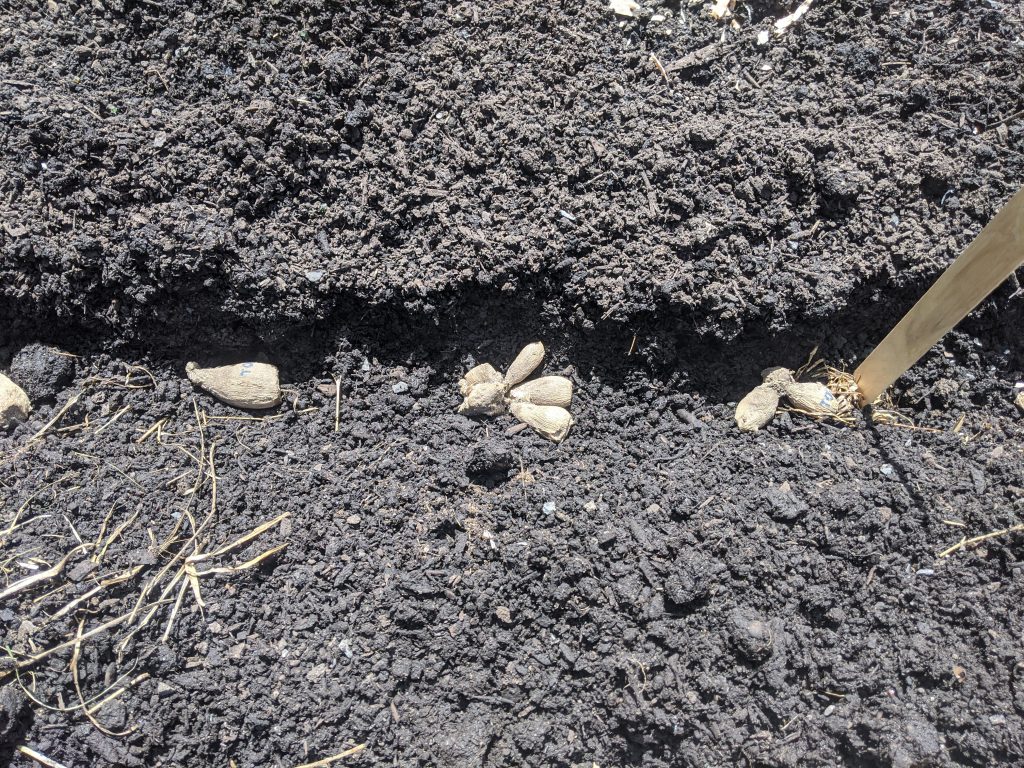
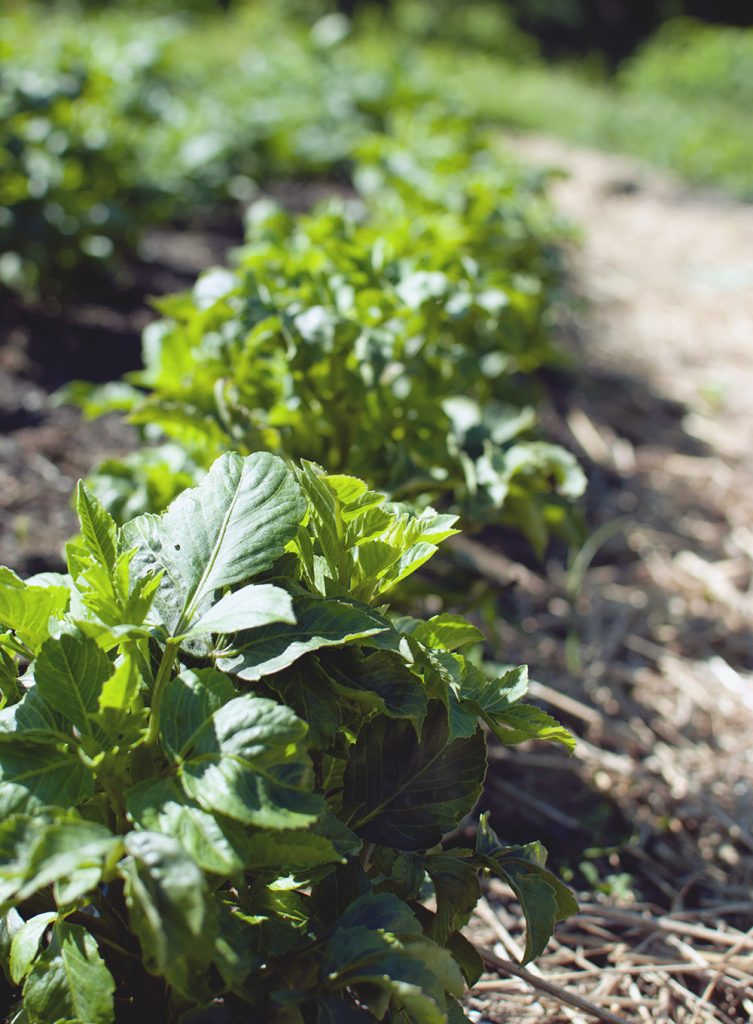
After all danger of frost has passed, plant your dahlias in a full sun location.
Dig a hole 4-6” deep for each tuber and lay the tuber horizontally in the hole. Cover with dirt.
If you are planting multiple tubers, space them 10″-18” apart, depending on the variety. Varieties that make smaller plants can be planted closer together, and larger plants like dinnerplate dahlias should be planted further apart.
Some dahlia varieties are small enough to grow in a large pot. To grow in a pot, plant one tuber per pot following the same instructions as above.
Do not water your dahlias until you see green sprouts emerge from the ground. This can take 2-3 weeks. If the tubers get too wet during this sensitive time while they are “waking up,” they are vulnerable to rot.
3. Feed & Water Your Dahlias
Once you see green shoots emerge from where you planted your tuber, it’s time to start them on a watering and feeding schedule.
Dahlias like their water! If it doesn’t rain much where you garden, give them a deep drink of water once or twice weekly.
At Sea Change Farm we fertilize our dahlias weekly, starting when they emerge from the ground, and continuing until midsummer.
We like to use an organic kelp- or fish-based fertilizer called Neptune’s, which is available at most garden centers. If you use this brand of fertilizer, it comes in a concentrated form that must be diluted with water before you apply it to your plants. We use fertilizer as a foliar spray on the leaves, but you can also pour the diluted fertilizer at the base of the plant.
4. Pinch Your Dahlia Plants
When your dahlias are about 8” tall, pinch out the center of the plant down to the bottom 2-3 sets of leaves.
This is an optional step, but pinching young dahlia plants will give you more blooms!
Dahlia stems are hollow, so don’t pinch them on or right before a rainy day–or the stems could fill up with water and rot the tubers! If you’re worried about rain, you can make a little “hat” for the cut end of the stem, using a large dahlia leaf or a bit of tin foil.
It’s good practice to sanitize your cutting tools in between plants by dipping them in soapy water. This can prevent the transmission of dahlia virus from plant to plant.
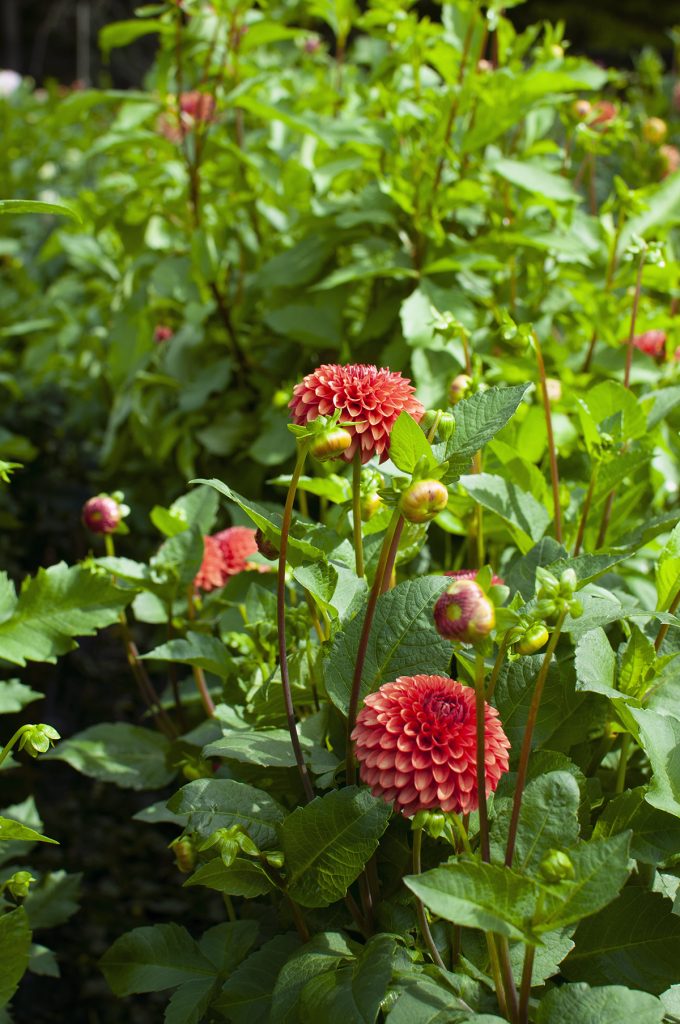
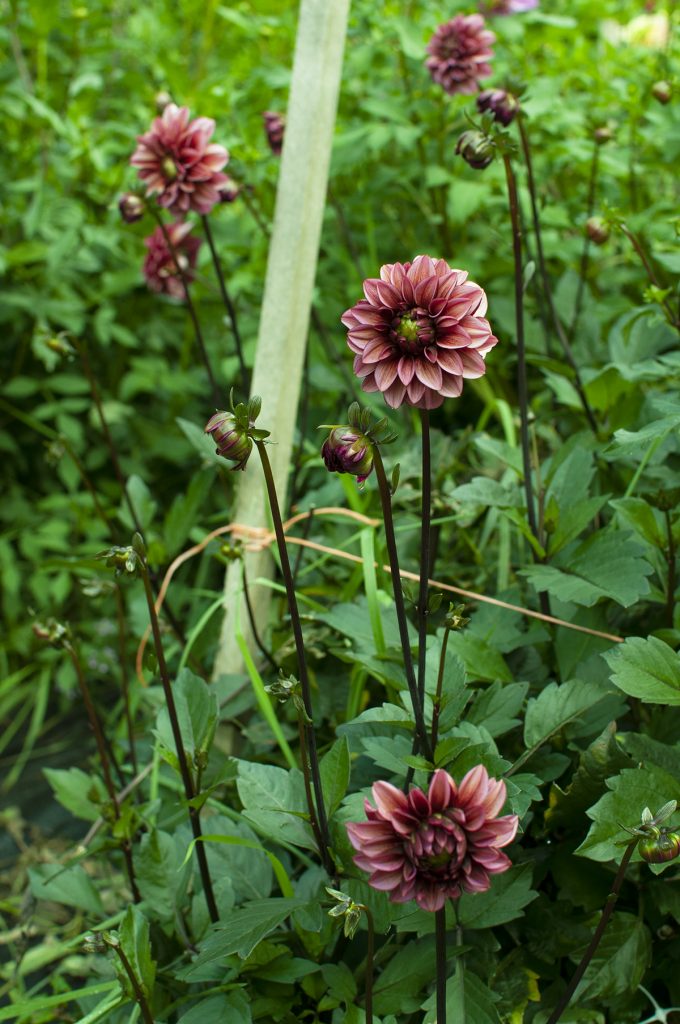
5. Support Your Dahlia Plants
Larger dahlia plants need support–they get heavy!
Stake plants individually, plant them in tomato cages, or create a “corral” with stakes and ropes around your plants.
It is helpful to stake your plants when they are still small, around 18” tall.
6. Harvest Dahlia Flowers
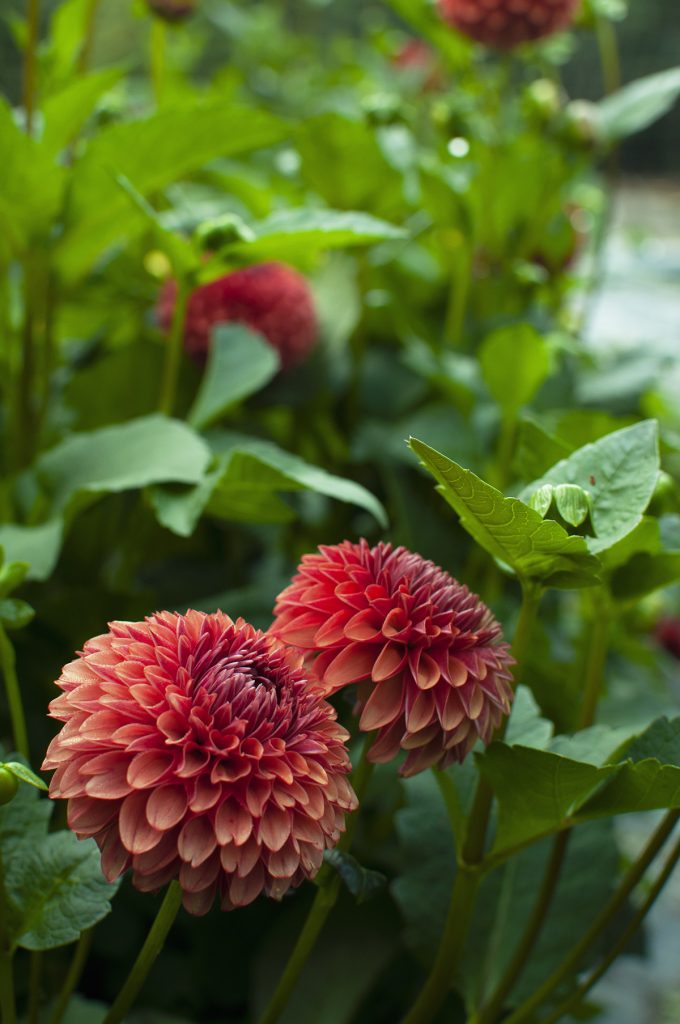
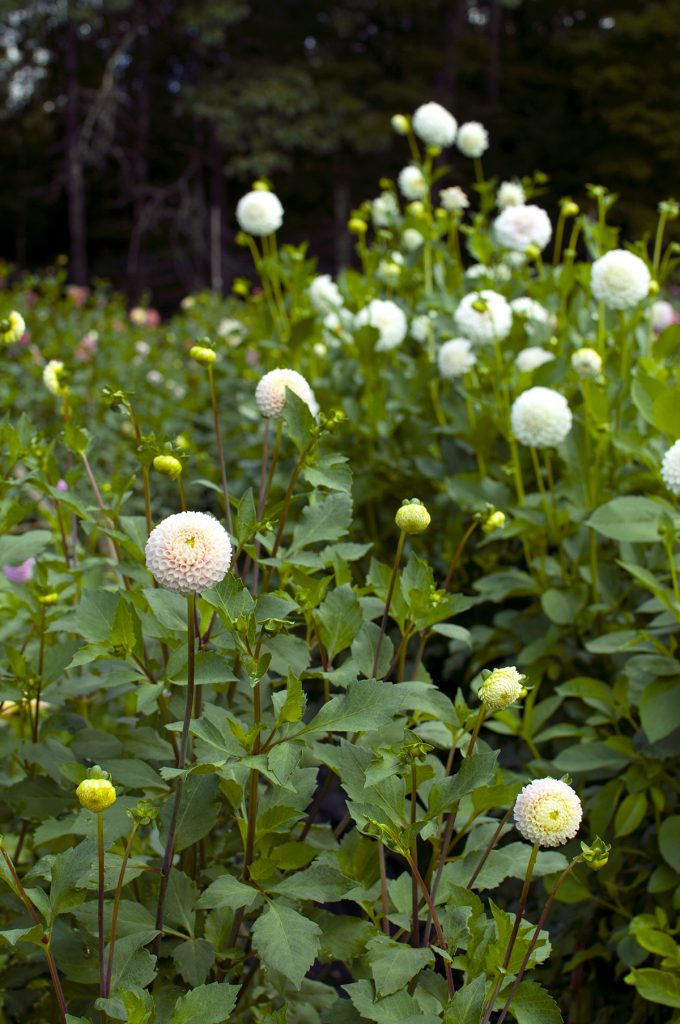
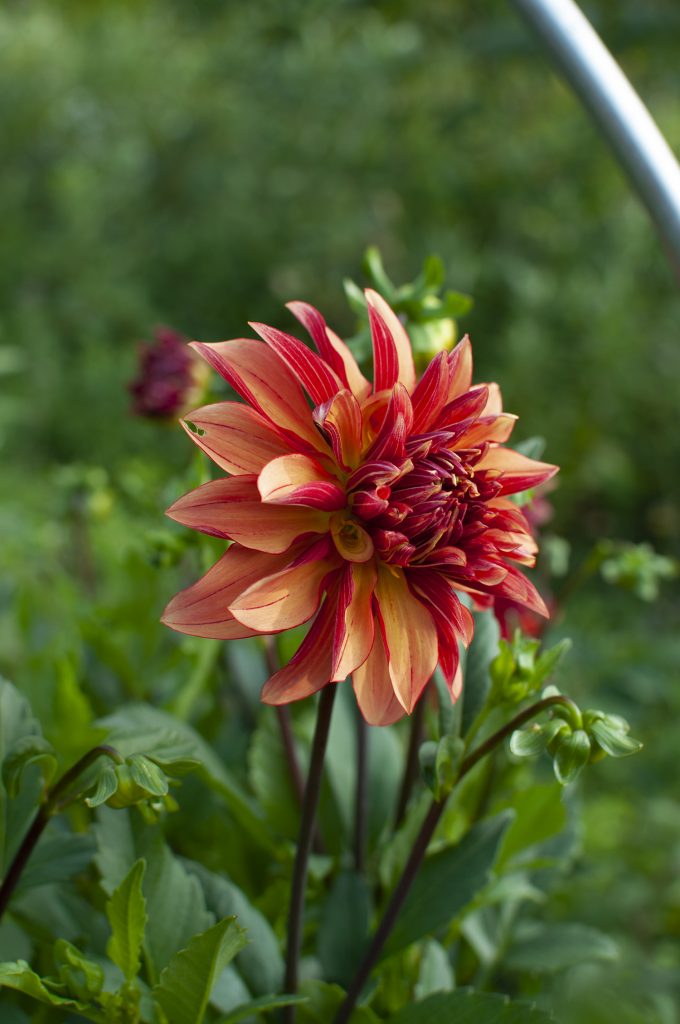
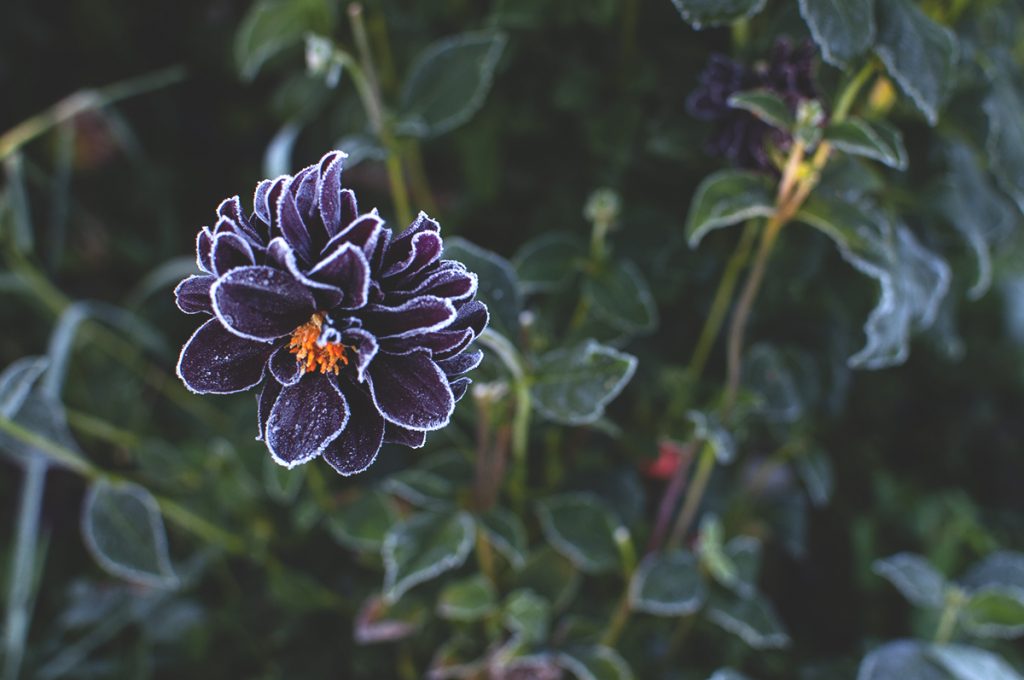
Dahlias usually start blooming in August and continue until the first frost.
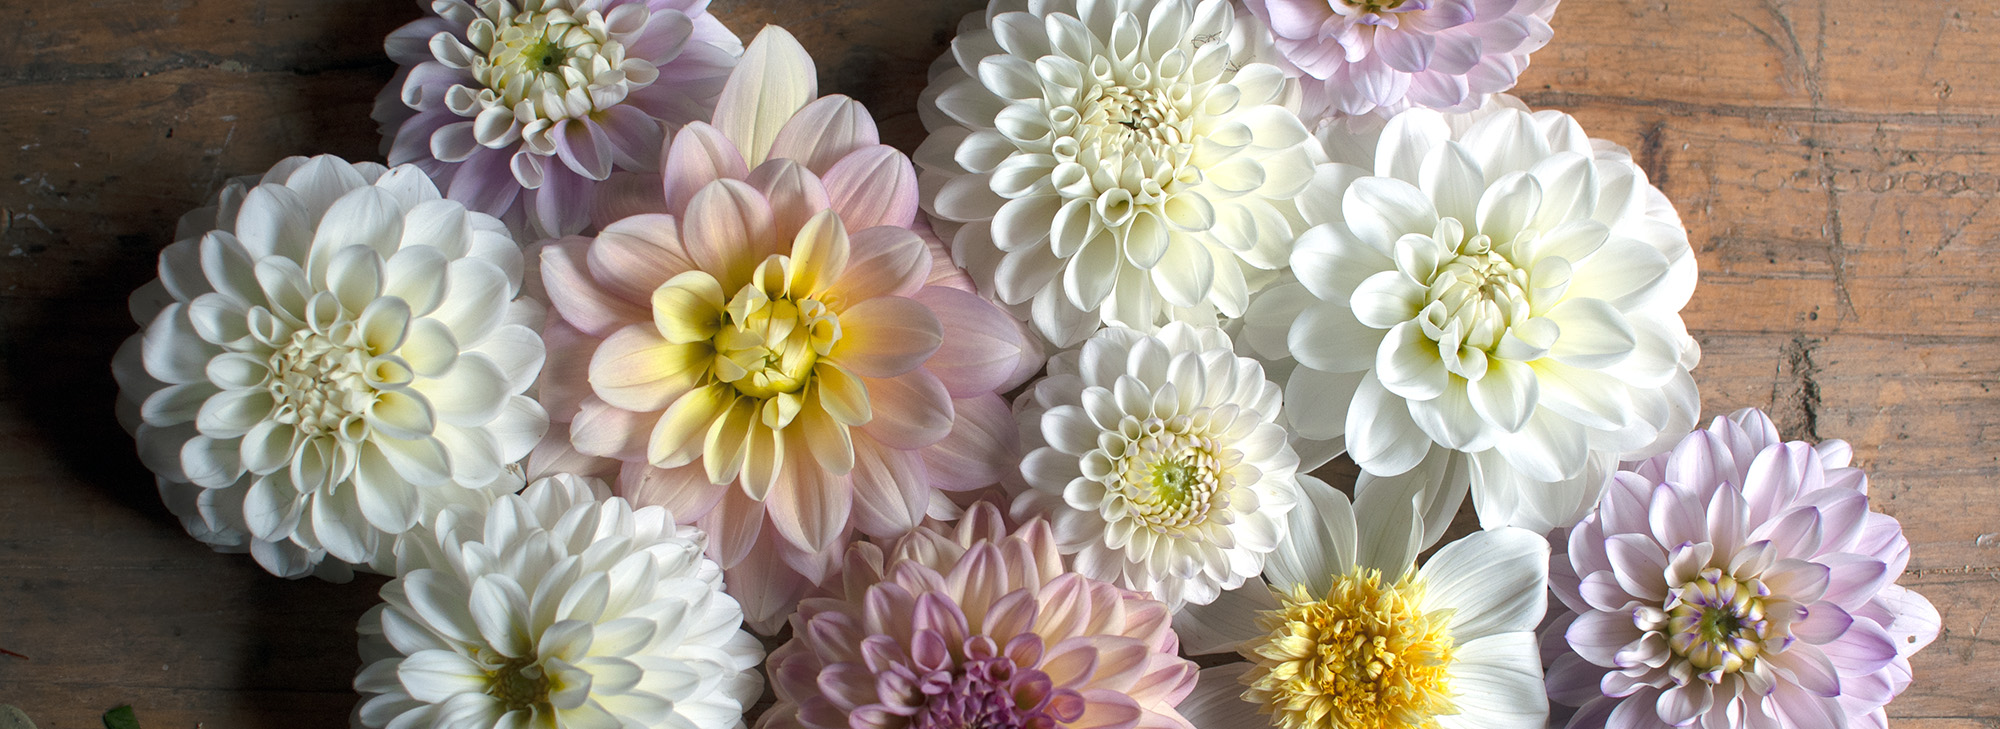
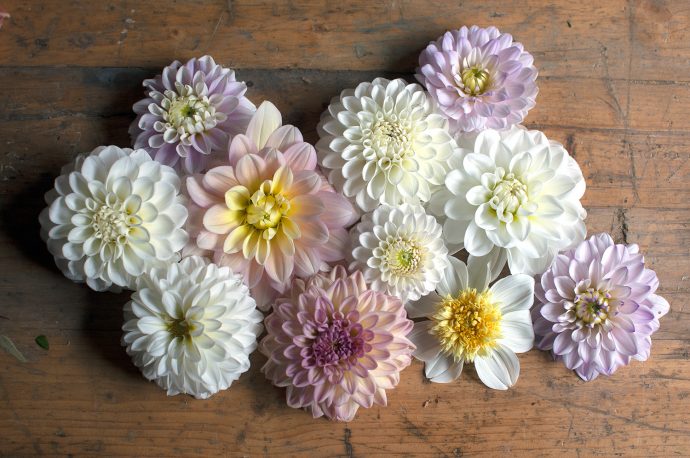
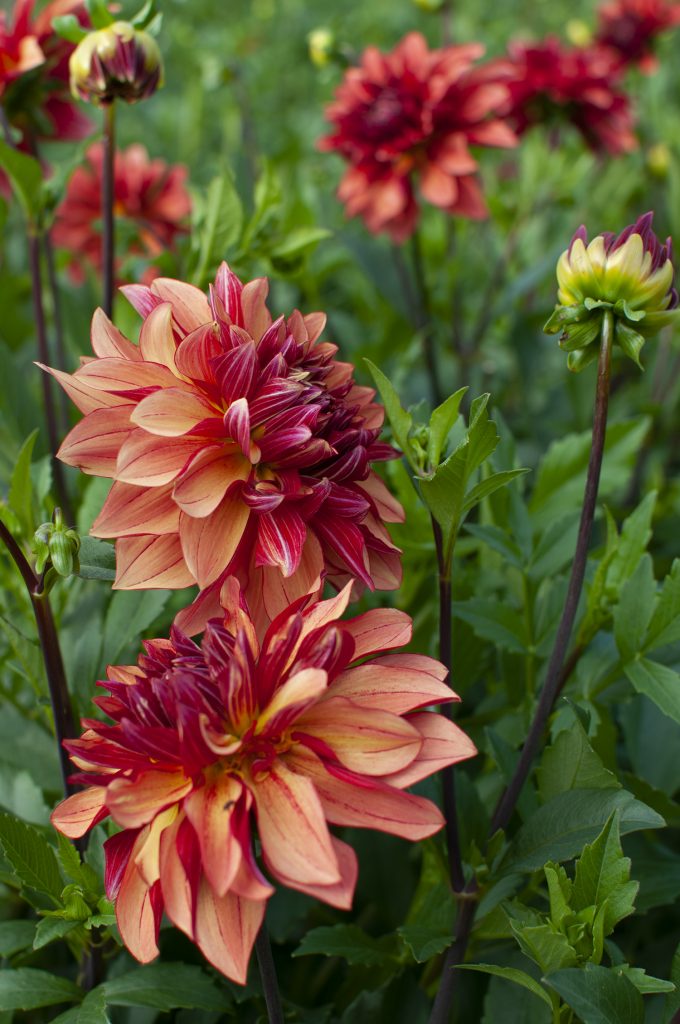
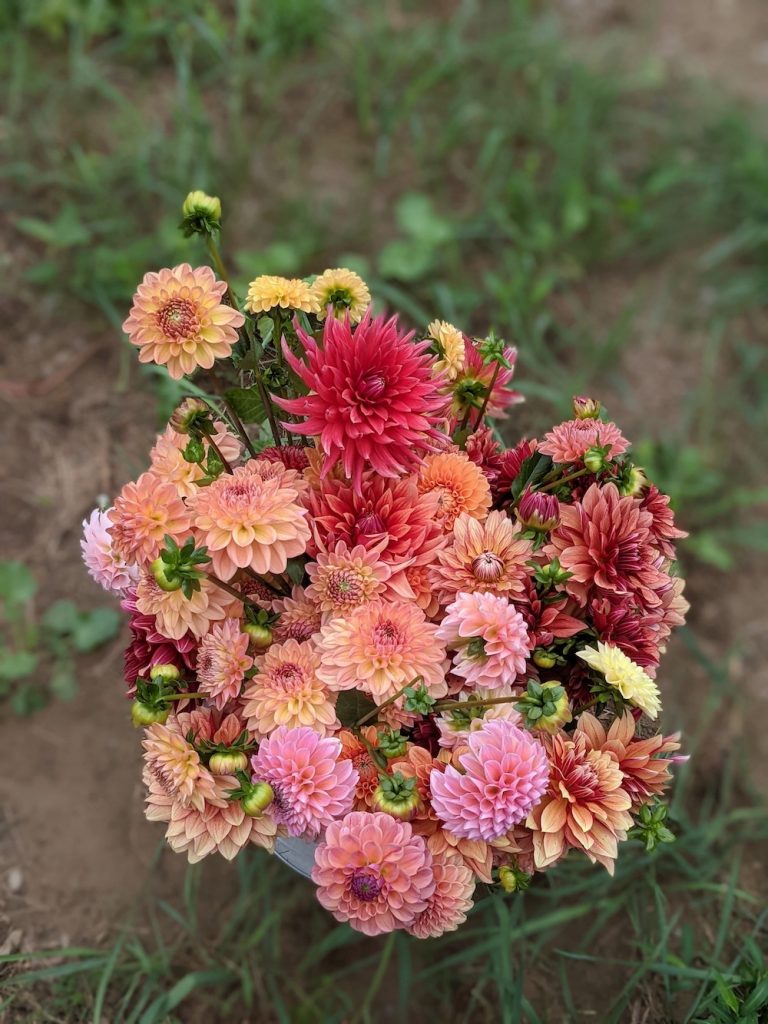
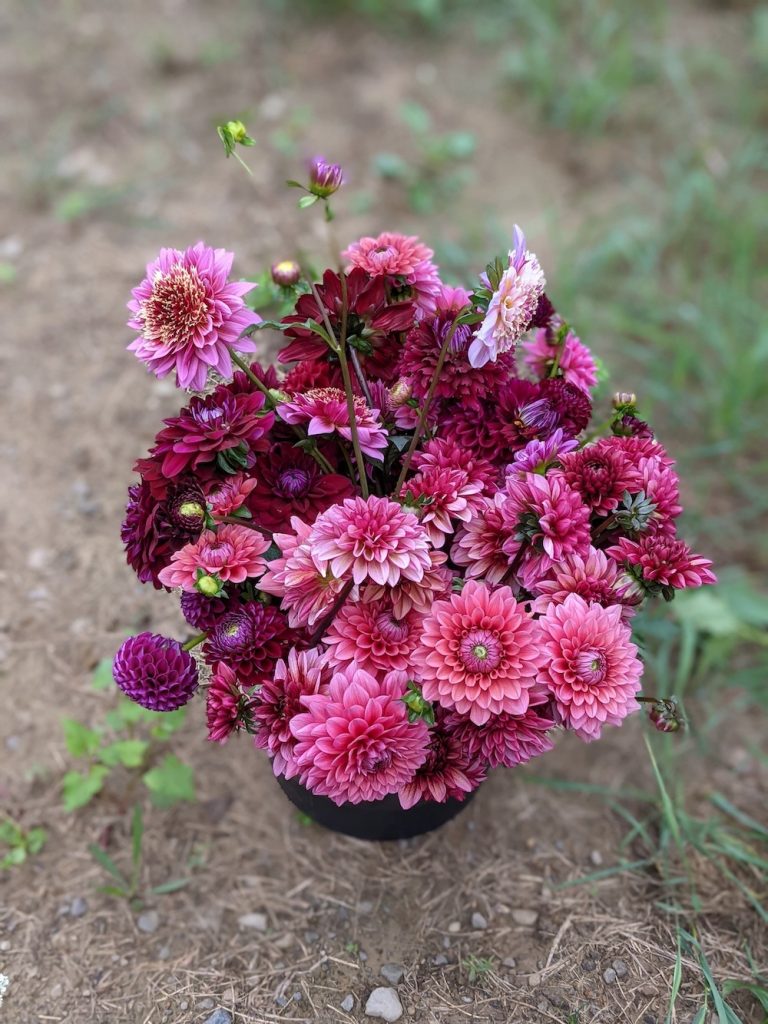
Dahlia flowers can be enjoyed in the garden, but they are also a wonderful cut flower to bring inside or share with a friend.
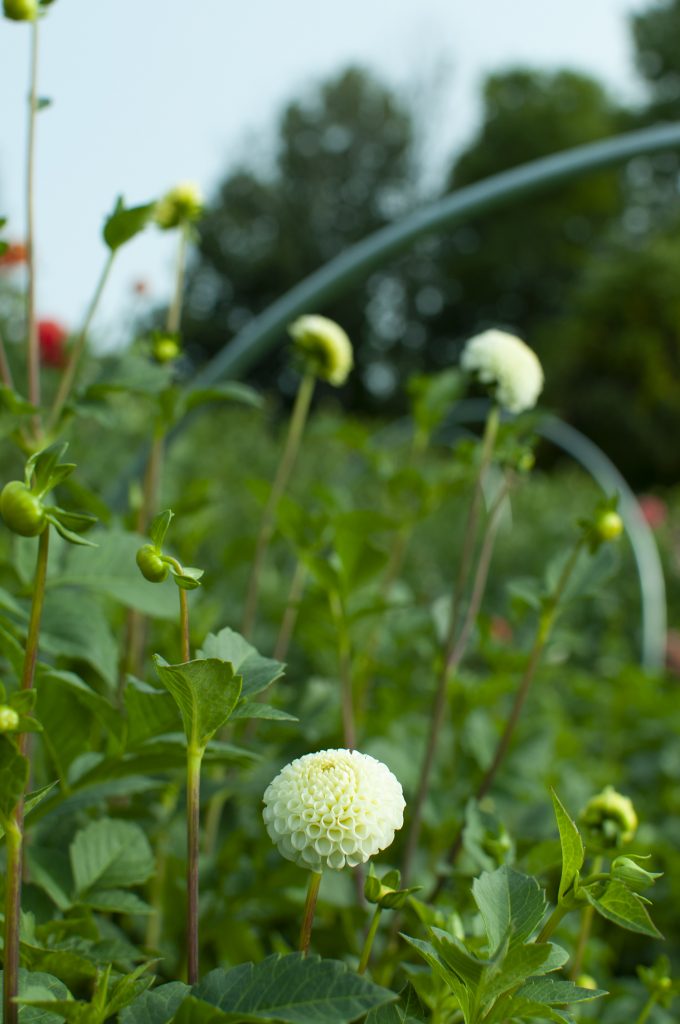
Cut dahlias when their blooms are about 80% open and place stems immediately into a bucket of clean water.
Some people put their freshly-cut dahlia stems into a bucket of warm or hot water instead of cool water. They say it helps the flowers last longer. But we’re not sure yet if this actually yields a better vase life! Experiment and see what works for you.
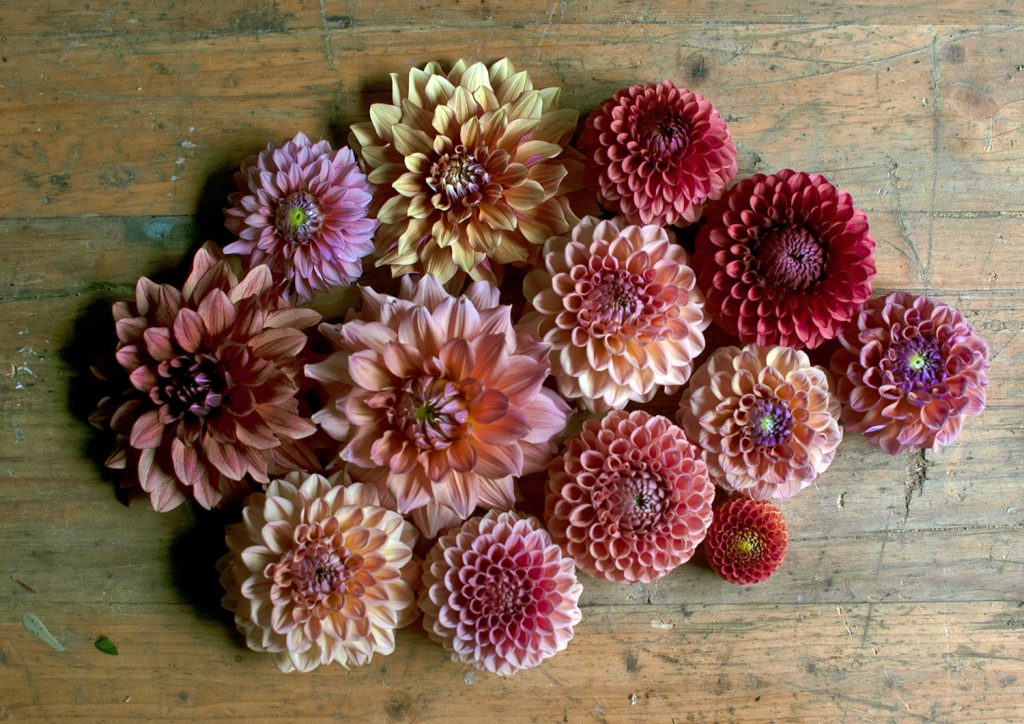
Dahlias branch & flower more after you cut them, so don’t be afraid to cut nice long stems! We like to make our cuts an inch or so above an existing branching point on the stem.
You can expect 5-7 days of vase life from most dahlias.
7. Storing Tubers for the Winter
To keep your tubers for next year, wait until after the first killing frost, then carefully lift them using a digging fork.
Tubers can be stored as whole clumps with the dirt still on them, or washed and divided into individual tubers. Dividing tuber clumps is a great way to multiply your dahlias!
Keep tubers in a fairly humid, non-freezing space at 40°-50°F.
There are many methods for storing tubers. We have the most success by packing ours in moist newspaper strips in cardboard boxes. This method allows for air and moisture to flow around the tubers, and so is less likely to lead to mold.
Check on your tubers once a month. If the newspaper strips have started to dry out, spritz the whole box with water to moisten it. If the tubers start to develop mold, trim or spot-clean them with a bleach-water solution, and dust with cinnamon.

In the spring, take your tubers out of storage to a warmer location to bring them out of dormancy.
Plant them again and enjoy your glorious garden.

Samantha is the owner of Sea Change Farm & Flower.
Connect with me!
Sign up for our newsletter here.