
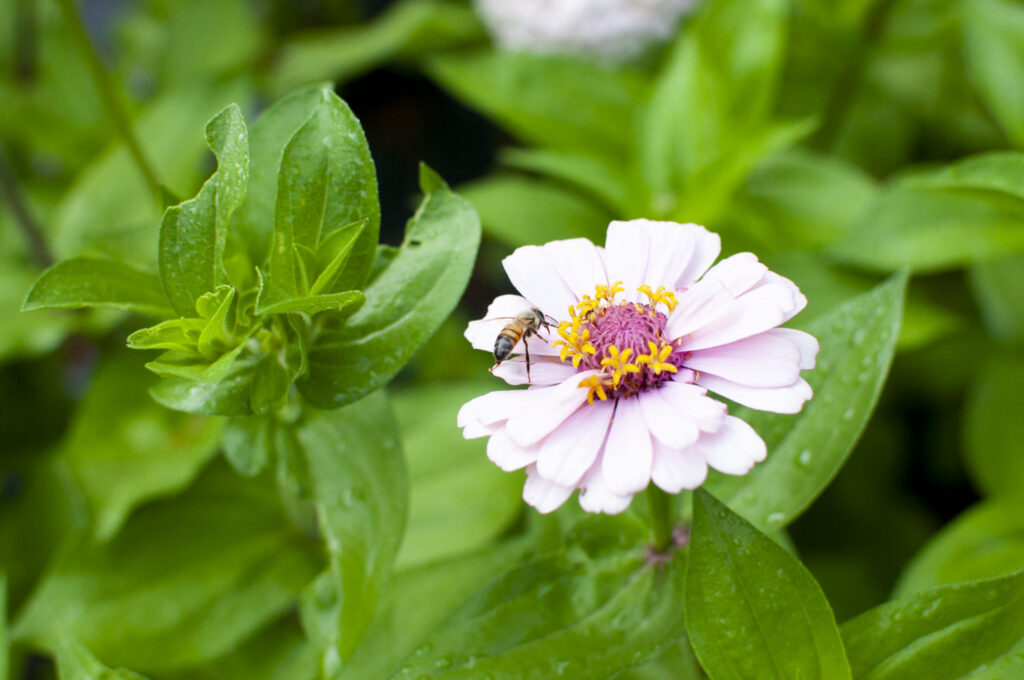
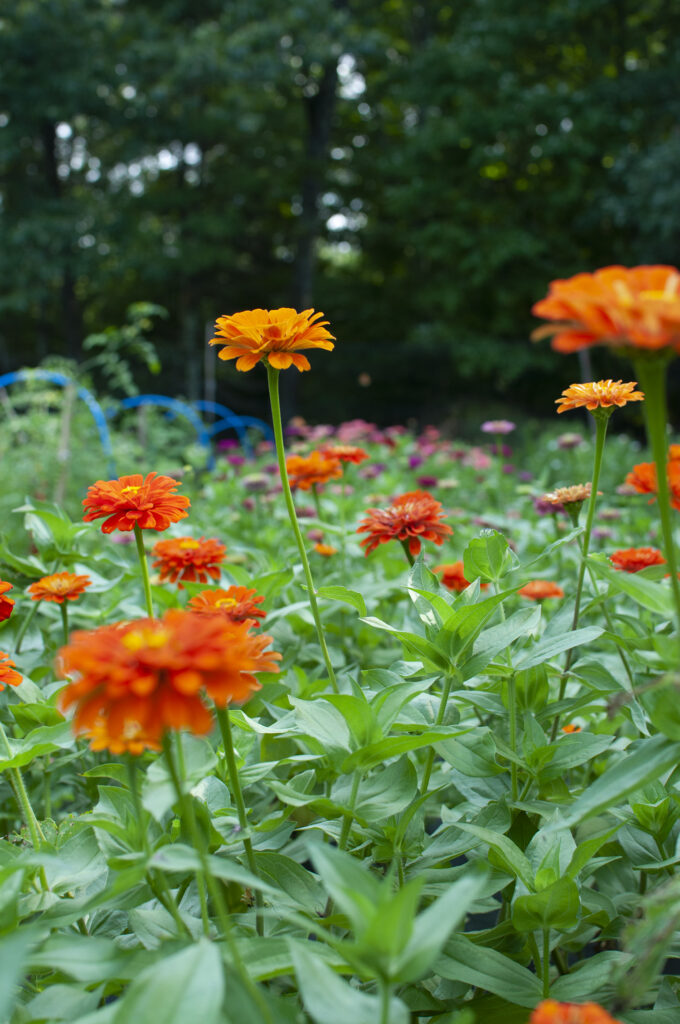
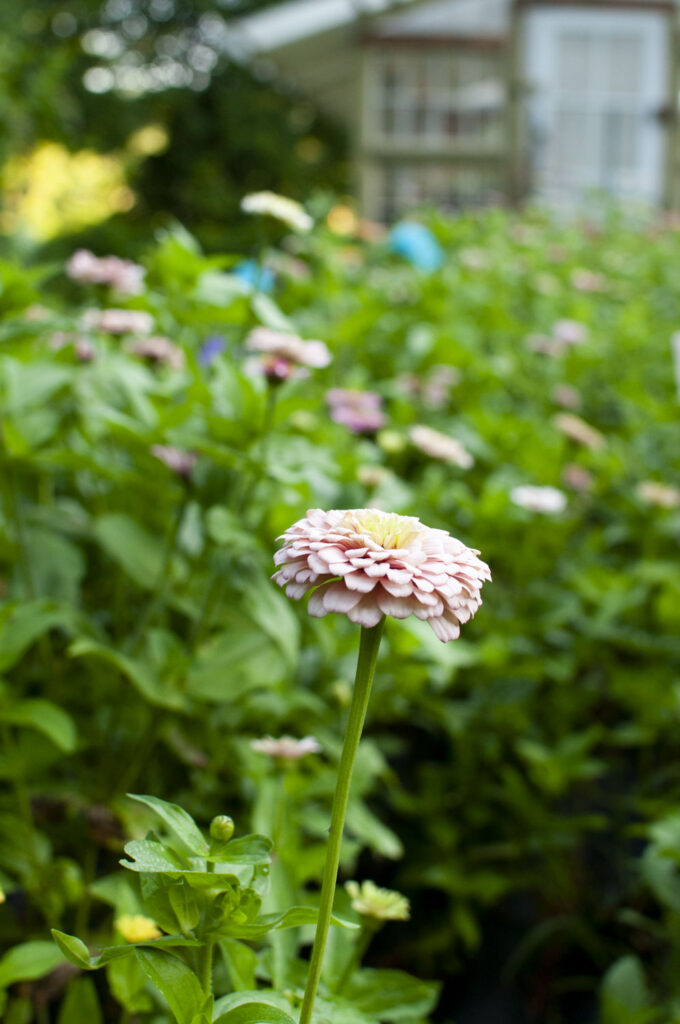
Who doesn’t love a bright, cheery zinnia peeking out from their garden in the middle of summer? Zinnias are some of the easiest flowers to grow, and a great “gateway flower” for newer gardeners.
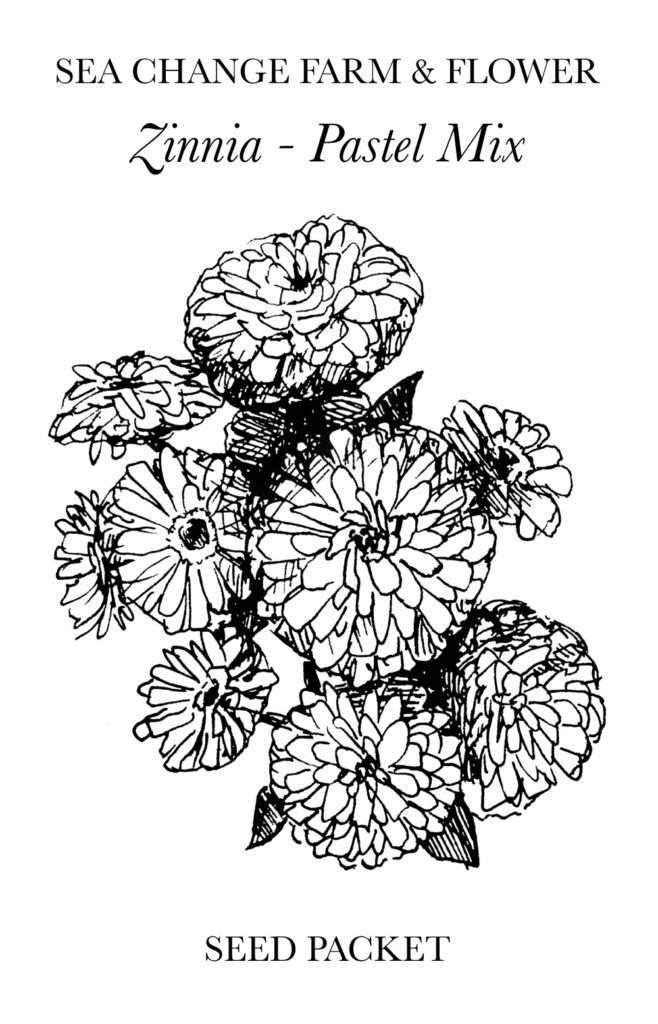
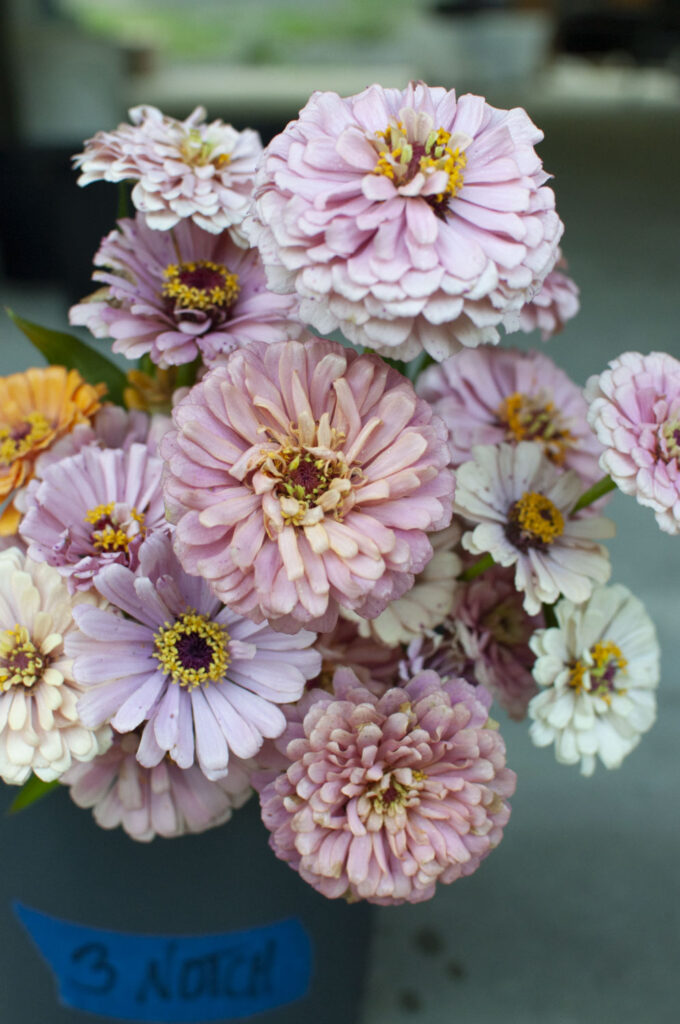
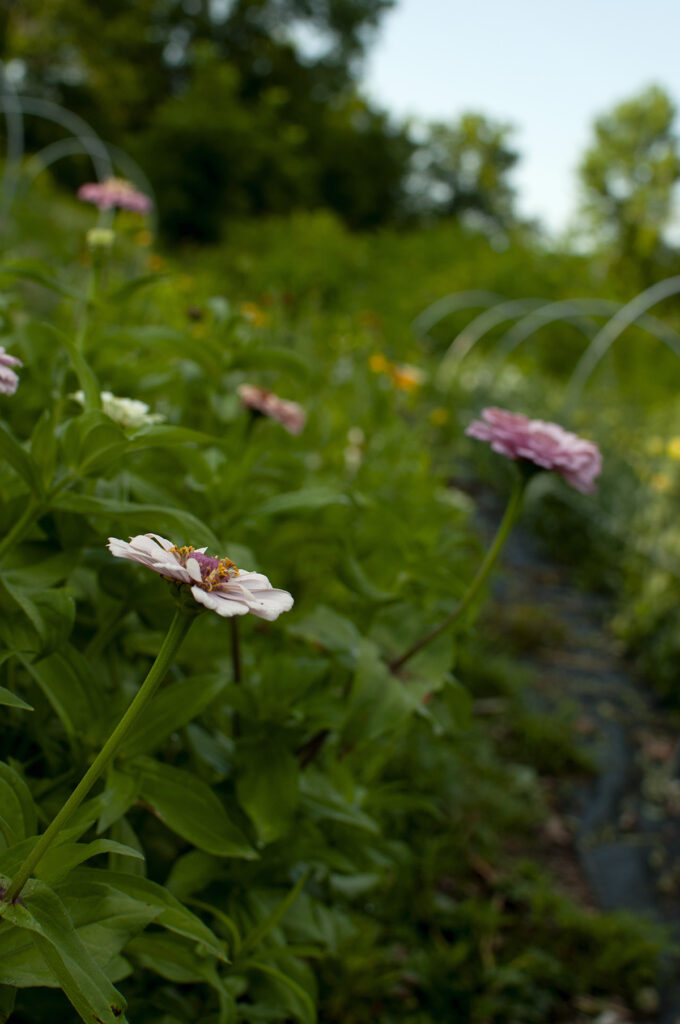
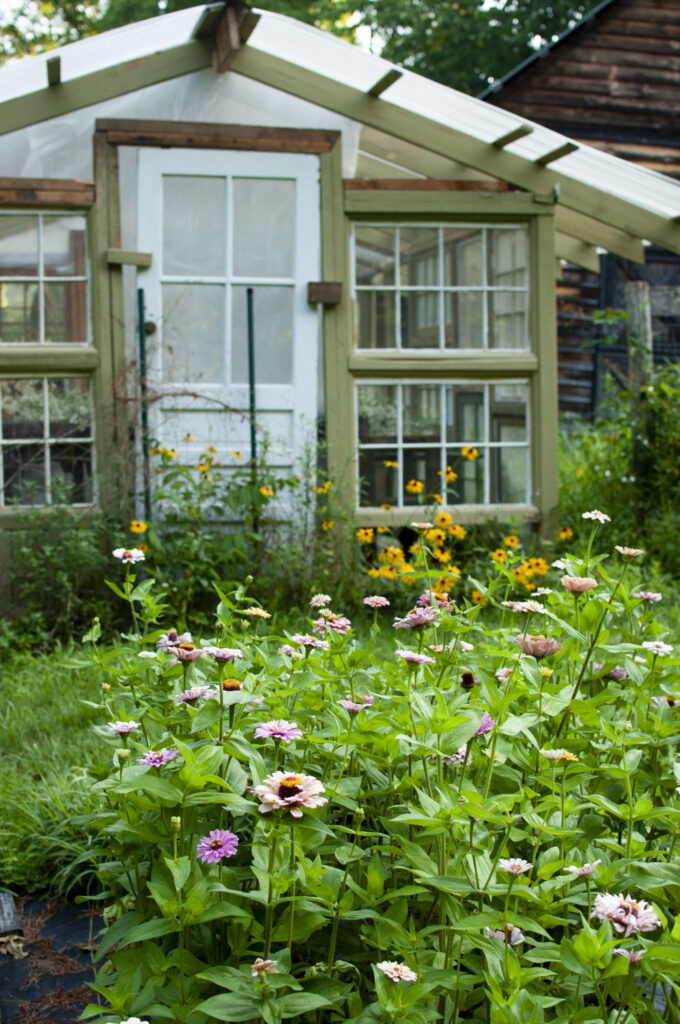
Zinnias are generous with flowers and come in a huge range of colors–including some new, softer colors, like the pastel mix we’re working on breeding. In this blog post, I’ll share how we grow our zinnias, so you can add them to your garden, too!
1. Acquire Zinnia Seeds
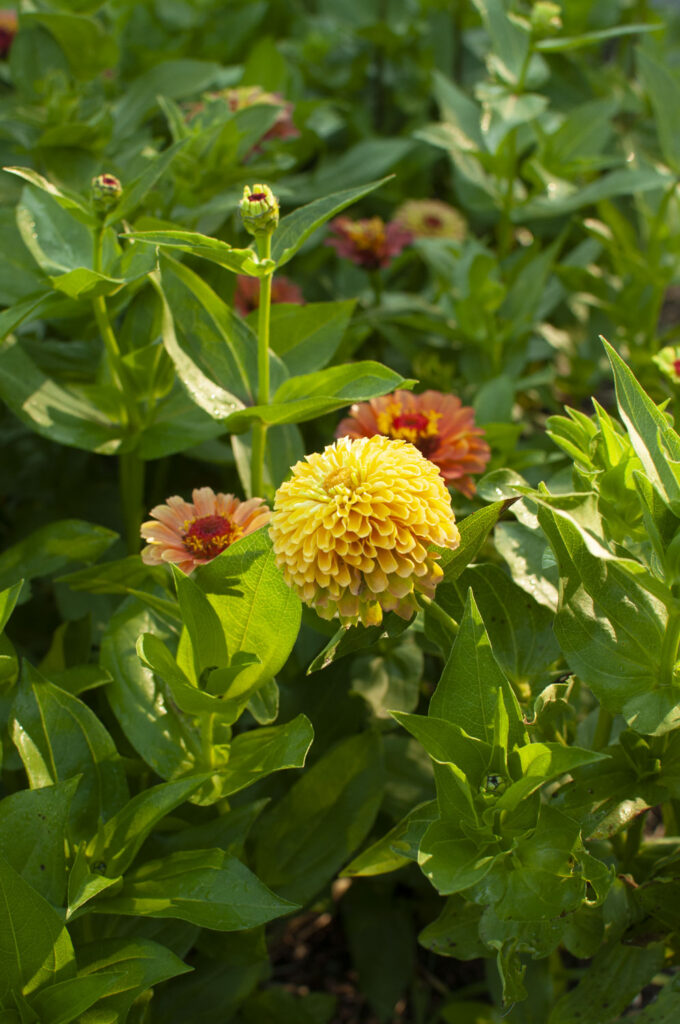
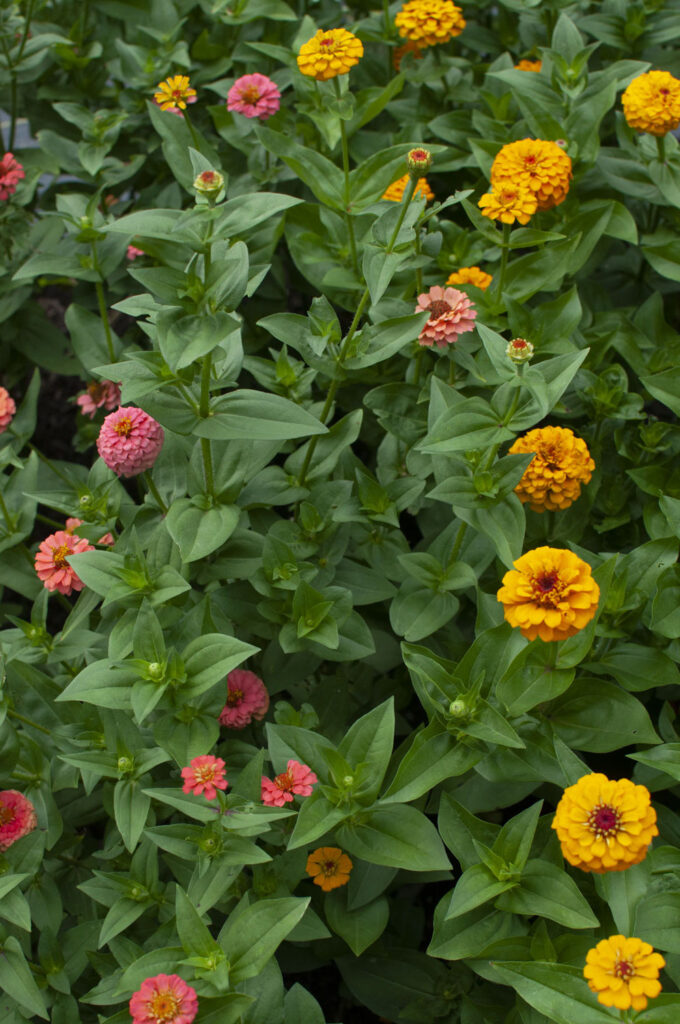
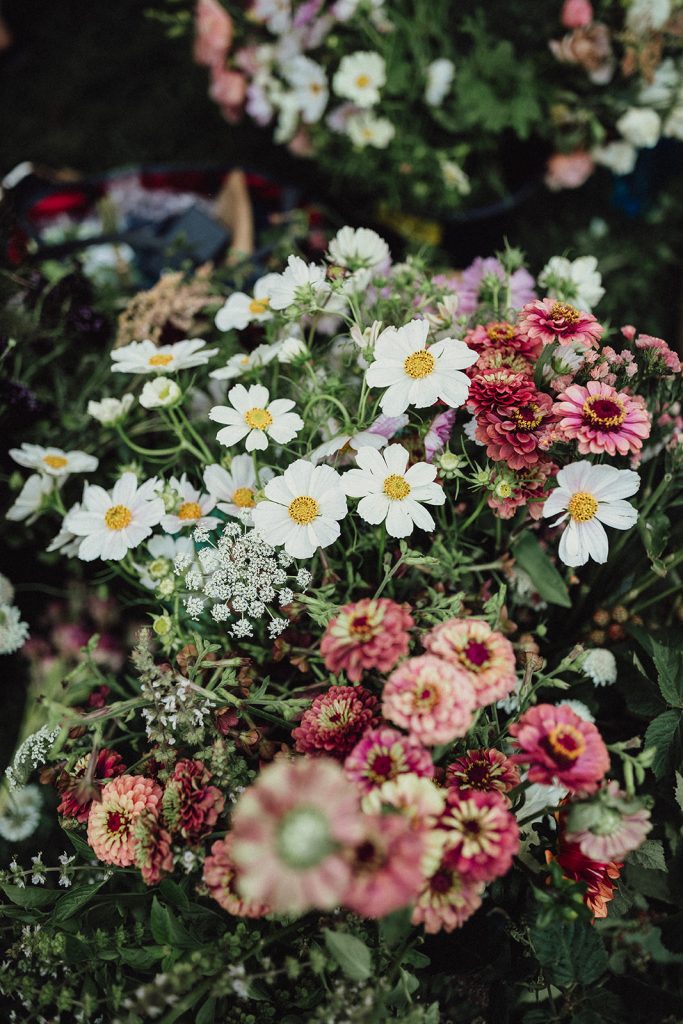
First things first, pick some seeds to grow! Think about what colors you’d like to have in your garden. What other flowers will they be near? Would you like a single-color patch, or a mix of colors? Zinnias come in pretty much every color except blue, so there are tons of options.
Some of my favorite zinnias for cutting gardens are the Benary’s Giant series (Wine is an especially lovely color), the Queen series for more subtle, blended colors, and the Jazzy series for super cute, smaller flowers.
You can find zinnia seeds in many places, including your local garden center. We are also selling the pastel mix zinnia seeds from our breeding project on our store!
2. Prepare Your Containers
You can direct sow zinnias outside after your last frost, but I prefer to start them in containers about 4 weeks before my last frost, and move them outside later.
Any standard potting soil or seed-starting mix will work for zinnias. I like to use ProMix, then when I mix water into the soil to dampen it, I add in some nutrient-dense amendments, like kelp granules, homemade calcium extract, and a tiny bit of liquid fertilizer.
Whatever soil you are using, mix it with water until it is well-moistened (but not soupy). Fill your containers with soil.
3. Plant the Zinnia Seeds
There are two methods you can use for planting the zinnia seeds:
1) poke a hole in each container with a pencil, drop the seeds in, and cover the holes
2) or, simply push the seed down into the soil, pointy end down, until it is submerged
I personally like the second method, because I think it’s more fun! But either will work.
Once your seeds are planted, place the tray under grow lights, in a greenhouse (protected from freezing), or in a bright, sunny window.
4. Tend Your Seedlings
Zinnias tend to germinate within 1 week. Keep the zinnias watered, by watering whenever the potting soil is on the verge of drying out. I find it helpful to let the soil get to this on-the-dry-side point between waterings, so that I’m not keeping it waterlogged and overly wet.
Once our zinnias are up, and have one set of true leaves, I start feeding them a diluted liquid fertilizer about once a week. I like to use Neptune’s Harvest organic kelp and fish fertilizer.
We keep a fan going in our grow room, which helps air circulate, and helps the stems to get stronger.
5. Plant Them In the Garden
Once danger of frost has passed, prepare your zinnias to move outside. About a week prior to planting them in the ground, harden them off by slowly introducing them to the outside world. The first day, take them outside for 1-2 hours, then bring them back inside. The second day, do 2-3 hours, etc. By the time you plant them in the ground, they should have been outside for most of the previous day.
Pick a spot in your garden that receives full sun, and plant your zinnias there. It’s helpful if you plant them out on a cloudy or rainy day, which will help them avoid transplant shock. Water in your seedlings well, and keep them well-watered for the first week after planting them out.
We space our zinnias in a 9″ grid. But, if you live in a dry climate, you may be able to get away with a tighter spacing. If you don’t plan on cutting flowers from your zinnias, you might consider a wider 12″ spacing, since the plants will be larger.
After the first week or so, when they are established outside, we maintain a once a week or once-every-other-week fertilizer schedule. We water them as-needed, depending on rainfall (though we are experimenting with pulse watering this year!). It’s helpful to water zinnias in the morning, and using drip irrigation or a soaker hose, to avoid having water on their leaves in the cool evening temperatures. Zinnias are prone to powdery mildew, so keep their leaves dry as much as possible.
6. Pinch & Support Your Zinnias
Once our zinnias are about 8″ tall, I like to give them a pinch, which encourages branching and more future flowers. To do this, I cut out the top few sets of leaves from the center stem of the plant.
Zinnias do all right without any support, but we like to give them a string corral to keep the plants orderly.
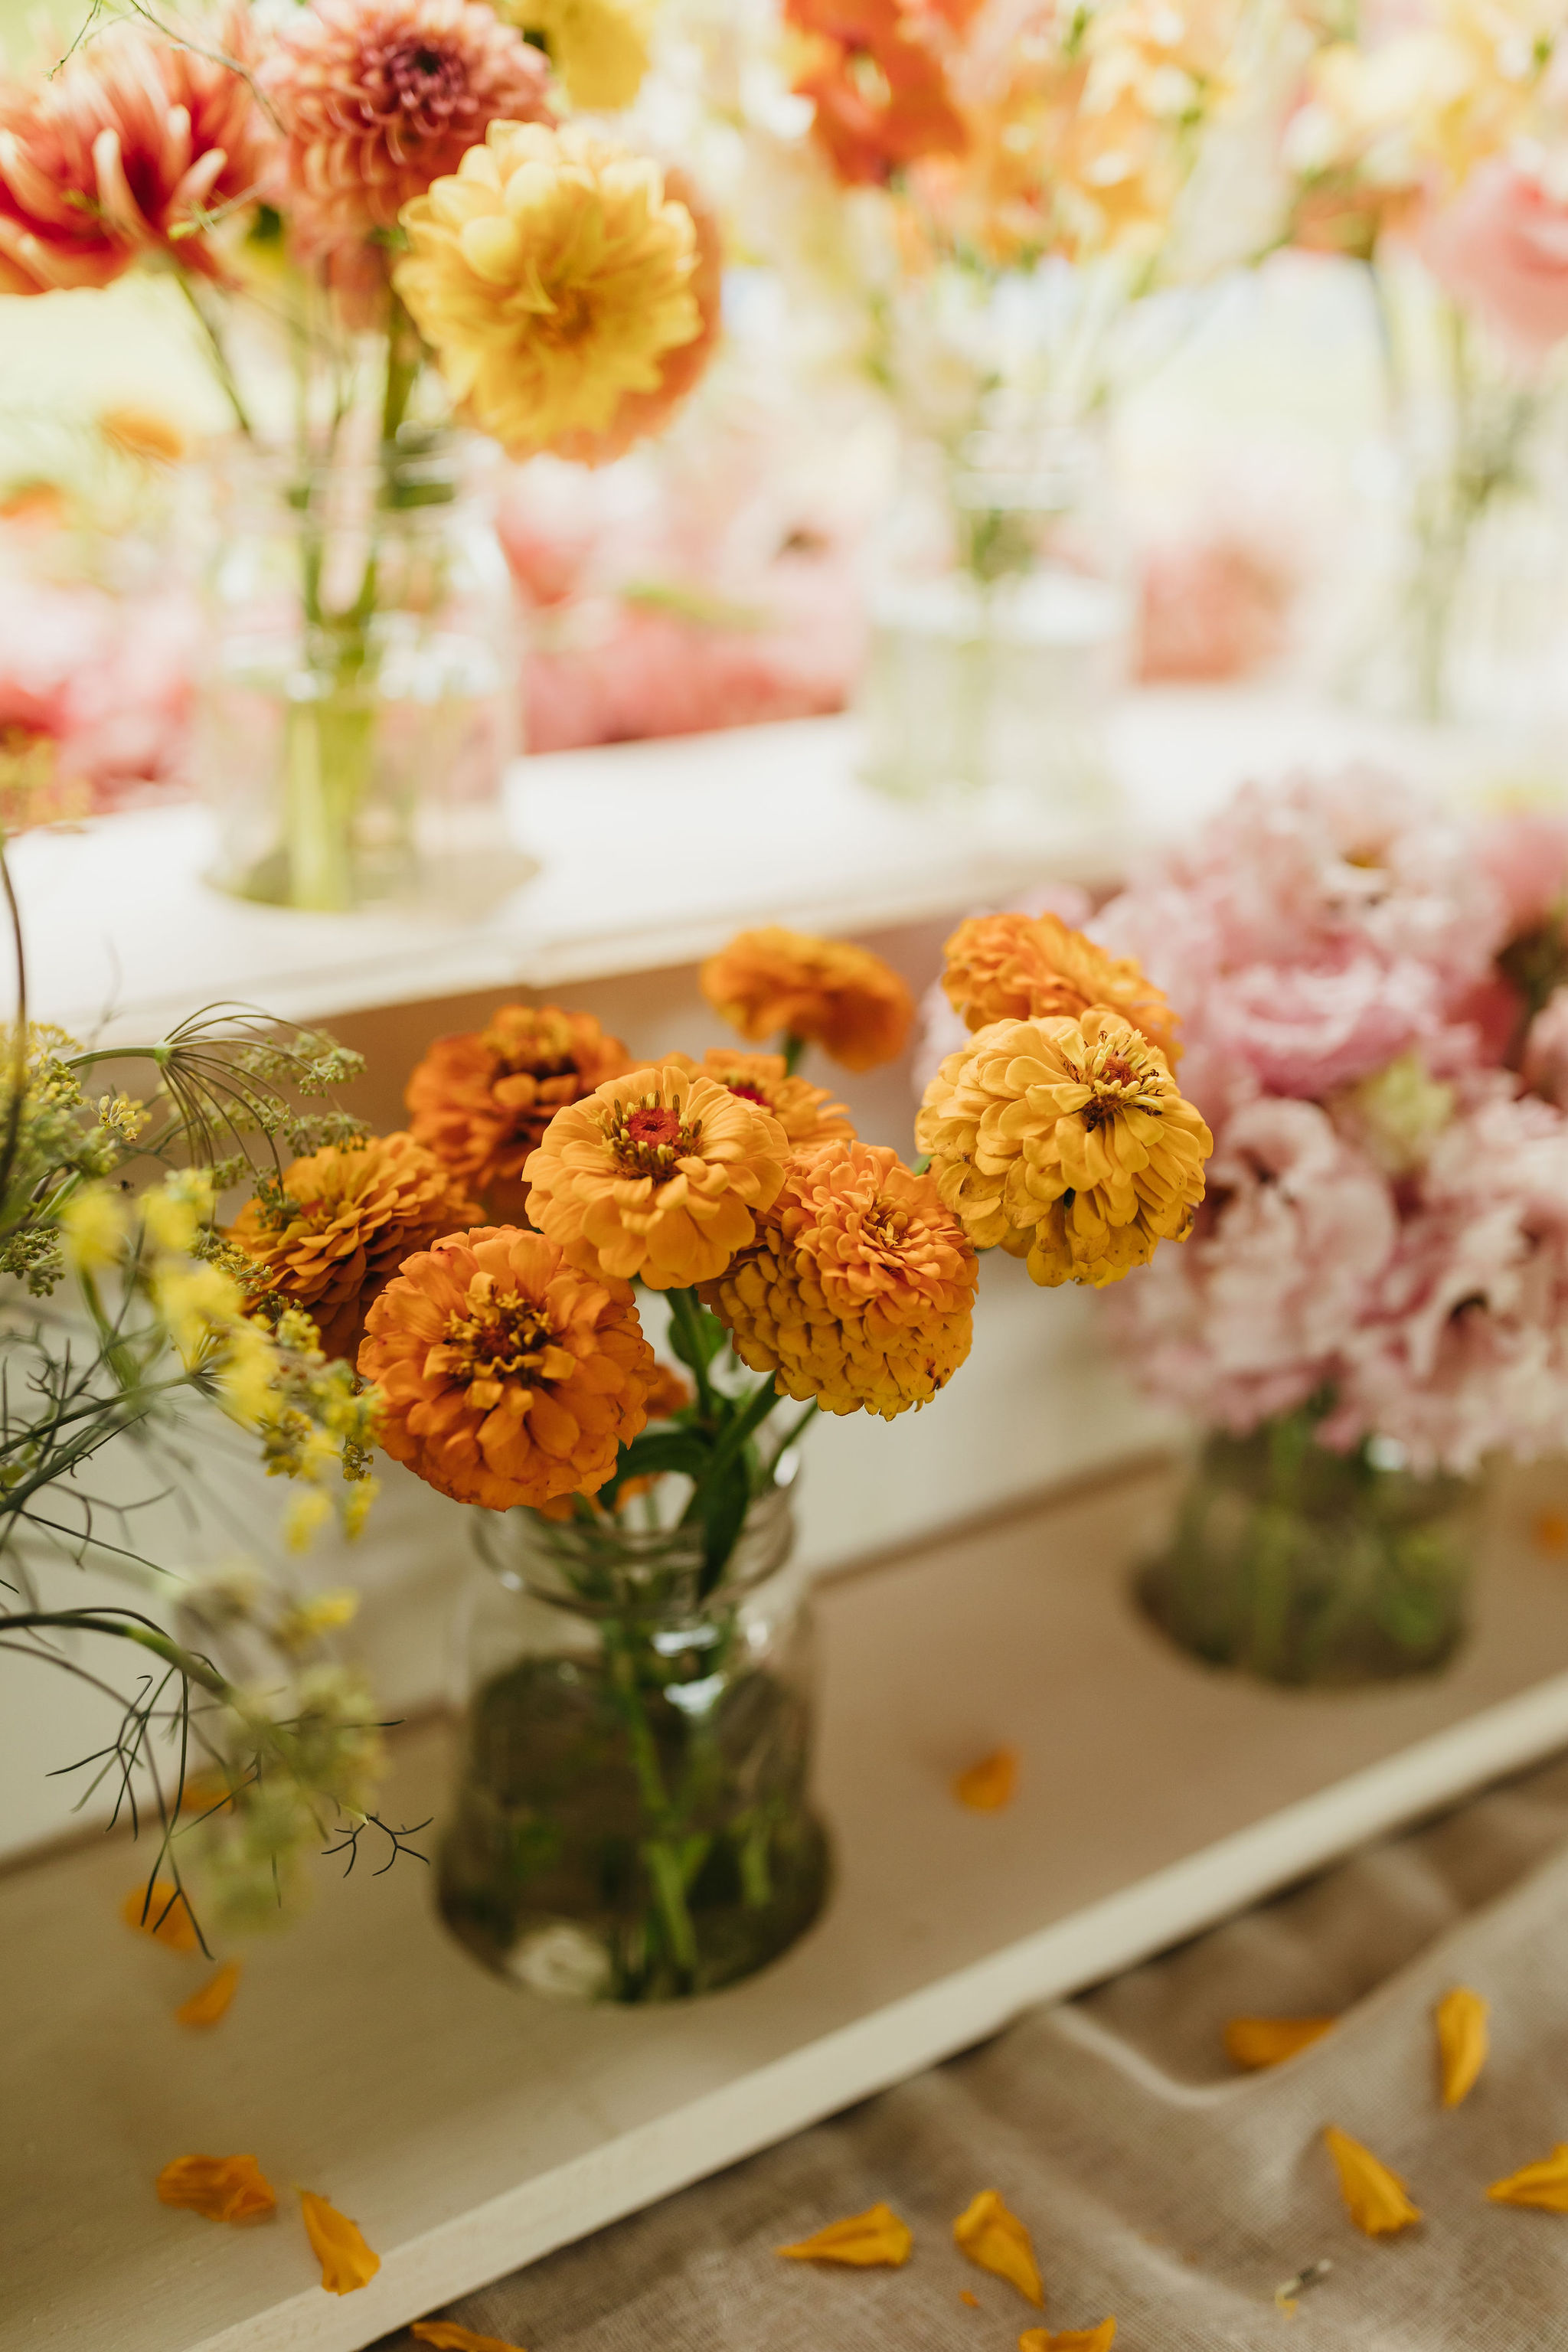
7. Harvest Your Flowers
About 3 months after planting them, you should start getting flowers on your zinnia plants. Hooray! Zinnia flowers are beloved by pollinators and butterflies, so you can definitely leave the flowers in the garden. But they do make wonderful cut flowers as well.
To harvest zinnias for cut flowers, first test the flowers for maturity with a “wiggle test”: grab the stem a few inches below the flower and give it a wiggle! If the flower head flops around, it’s too young to harvest, and will wilt in the vase. If the stem is stiff, it’s ready for harvest.
Don’t be afraid to cut nice, long stems off your zinnia plants! The lower down you cut, the more it will encourage the plant to branch and produce more stems. Cutting longer stems also helps to “thin” the plants out and provide more air flow, which helps fend off powdery mildew.
Zinnias will last about 5-7 days as a cut flower. To help get their best vase life, change their water every other day.
Enjoy your zinnias!

Samantha is the owner of Sea Change Farm & Flower.
Connect with me!
Sign up for our newsletter here.